Playing with Identity in Shadows & Painting
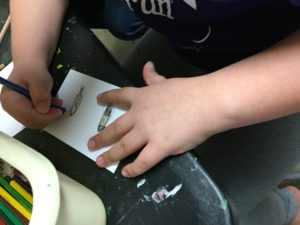
A Student’s Warm Up
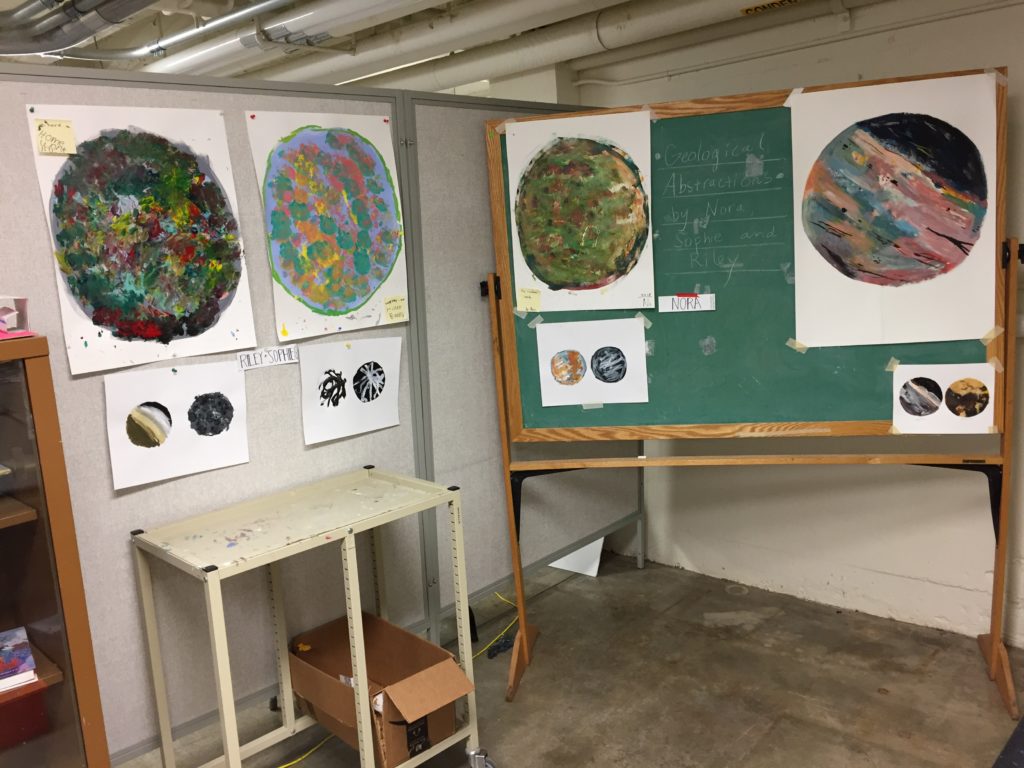
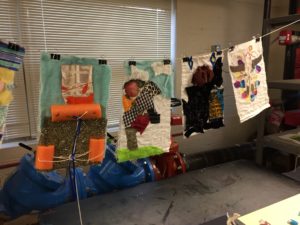
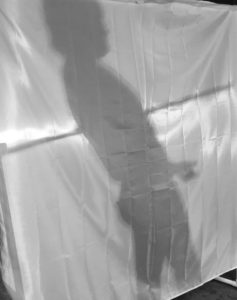
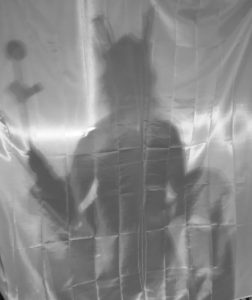
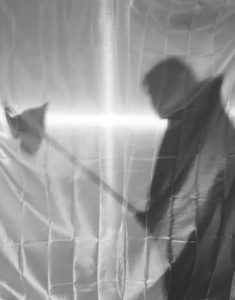
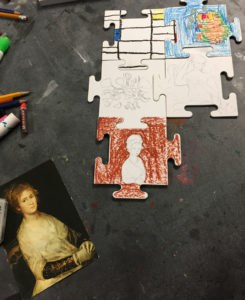
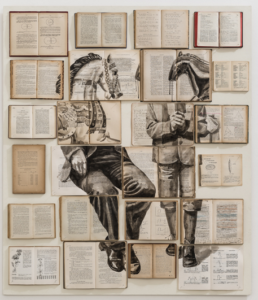
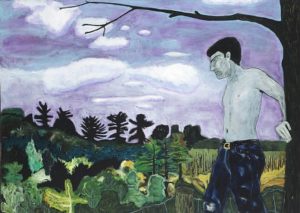
In this workshop, students explored the idea of identity through disguising themselves as a character, object, person, animal or other creature of their choosing, then experimented with water-based oils in a rub-out or montage painting. In the warm up, I asked the students to choose an object in the room and go behind a white, back-lit screen to change their appearance. They had access to pool noodles, balls, wood, recycled paper, cardboard and craft paper. Afterwards, I showed them slides on Kara Walker, the history of silhouettes and other artists in relation to identity in art. Then, they made costumes out of these materials, went behind the screen and took photos of each others’ personas. After that, they experimented with painting their creations.
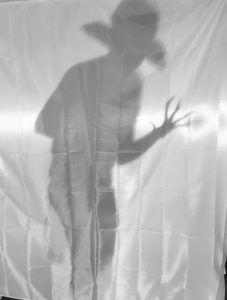
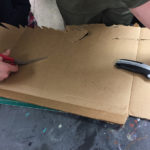
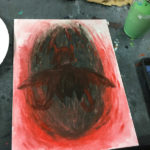
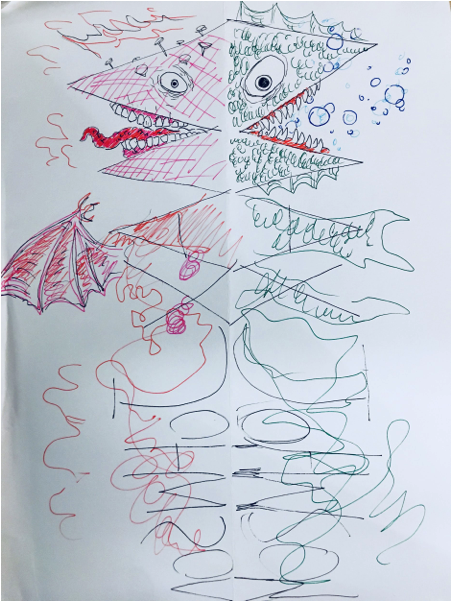
Another Devilish Costume

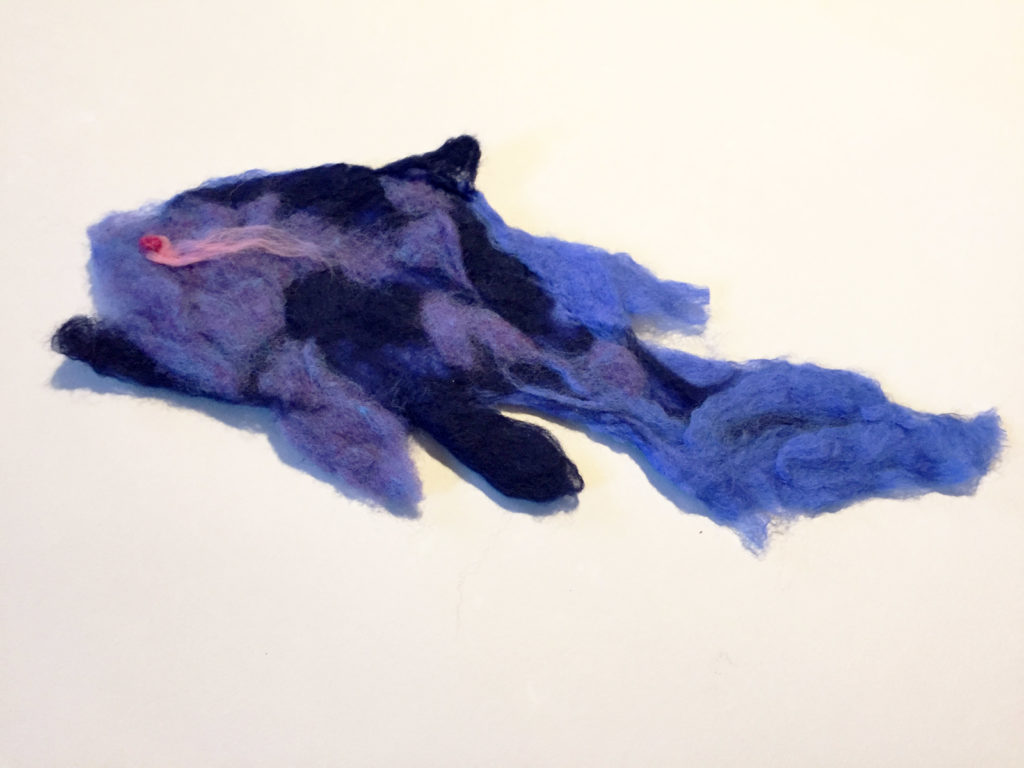
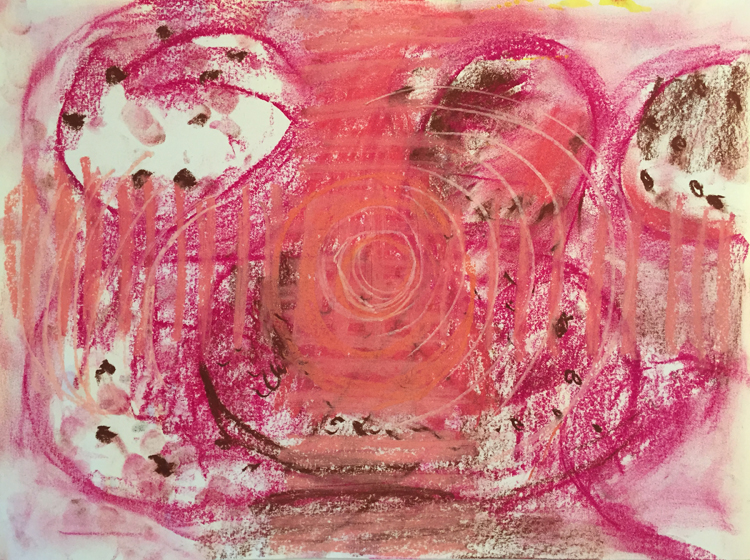
Creature Rub-Out Painting in Water-Based Oils
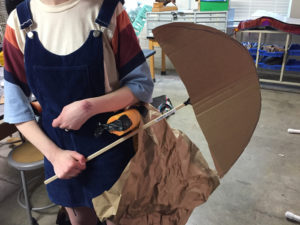
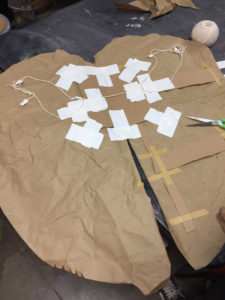
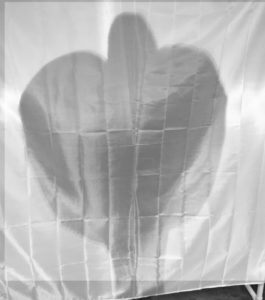
Behind the Scenes of a Costume Made to Look Like a Bustle

Bustle Costume
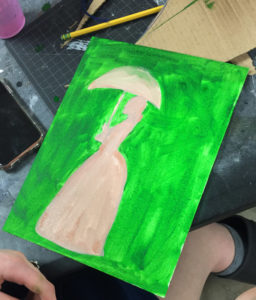
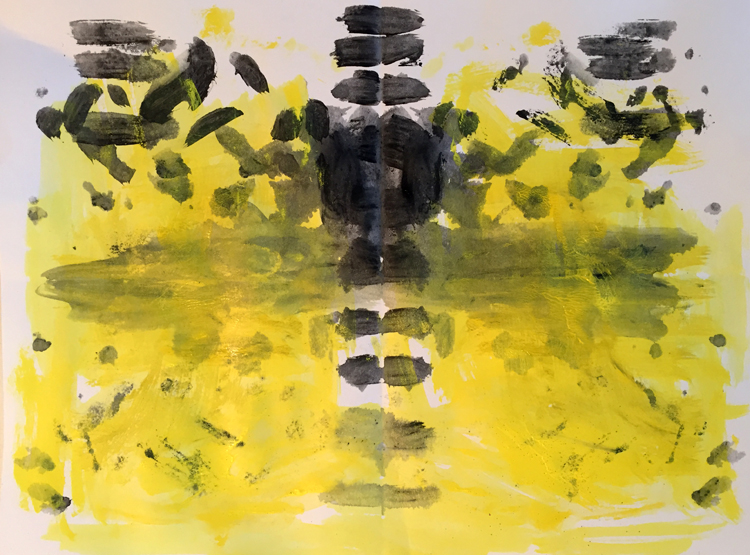
Bustle Rub Out Painting
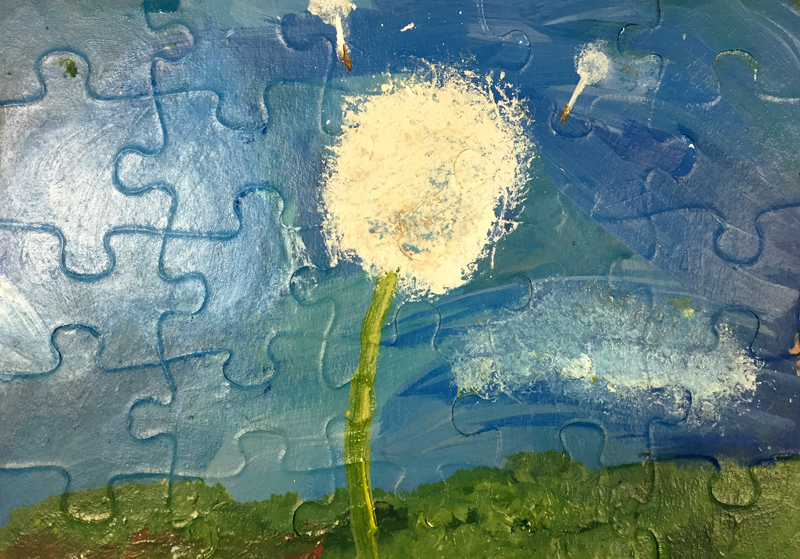
Spring Goddess
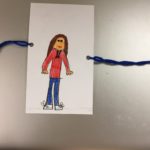
Student’s Costume

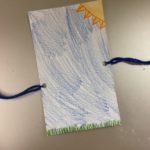
Costume Painting
Making Wings
The Wings
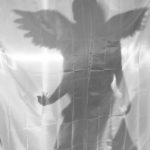
Two Students Playing Around
Making Wings
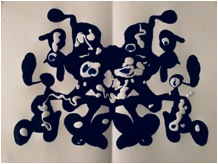
Matching Painting
_____________________________________________________________________________
Grade Level: 7-8
Time needed: 90 minutes
Class Size: 20-25
Overall Goals:
Problem: If you could be a different creature, person or object, what would you be and how can you explore this through shadow play and make a painting related to your experimentation? Does role-playing and creating an image help you internalize or express empathy or see another aspect of yourself?
Big Ideas: Empathizing, Role-playing, Imaging, Body Thinking, Storytelling, Self-Expression
Description & Purpose: Students will be asked to make a sculptural costume for themselves out of paper to make a shadow and act out a new identity behind a screen or sheet with a strong light source behind. Someone else will take a photo of them on the first student’s phone. After, the student will explore a painting with their new identity, placing themselves in a new context of their choosing, using a choice of two techniques: rub out or montage. They can investigate a new part of themselves as well as the qualities of another person, character or object.
Importance: According to Erik Erikson’s theories of development, part of what drives students at this age is exploring their identity not only by themselves, but in relation to peers (Woolfolk, 2019). By providing students a screen to stand behind, those at this age are often inhibited and so this gives them a chance to reveal themselves by hiding.
Art Concepts/Technical Skills: Students will experiment with a rub out painting technique on canvas or a montaged one on paper, where they cut out the outline of their shadow either before or after painting (allowing time to dry) and place in a new context (background). They will also consider silhouettes and how past and contemporary artists have used this method. Students will also learn in the slides about how artists have worked with identity.
SPECIAL PRE-INSTRUCTION PREPARATIONS
- What special preparations need to be made by the teacher before beginning this unit? Schedule a field trip? Schedule a guest speaker? Have students compile/collect special supplies? Have specific equipment on hand? Etc.
- Teacher will need to have a sheet strung in the room or a screen available for the students to use as well as have a strong light source to project behind.
Common Errors or Misunderstandings
- What are common errors or misunderstandings of students related to the central focus of this lesson?
- Some students might not understand that they have to create a silhouette so their costume doesn’t need to be aesthetic (unless they want it to be), just be able to show parts of their object/person in a shadow.
- Students may not comprehend how to make a rub-out or a montage.
- How will you address and/or respond to these for this group of students?
- Teacher will show a slide of her image or demonstrate how her costume creates a shadow.
- By demonstration these painting techniques in person, the teacher will explain the nuances of them.
National Standards
1. CREATING: Organize and develop artistic ideas and work, Anchor standard 2.
2. PRESENTING: Select, analyze and interpret artistic work for presentation, Anchor standard 3. CONNECTING: Synthesize and relate knowledge and personal experiences to make art, Anchor standard 10.
4. RESPONDING: Interpret intent and meaning in artistic work, Anchor Standard 8.
Unit Learning Objectives
1. TLW explore a shadow play identity, documenting their work in a smart phone photo and translating the image into either a rub-out painting on canvas or a montage painting on paper, both with a background. Anchor standard 2.
2. TLW observe and discuss the artists presented in the slides in a group in order to analyze how art can show identity through silhouettes, Anchor standard 8.
3. TLW use their knowledge about their person, character or object to experiment in shadow play and as a result, gain deeper empathy for their chosen identity, Anchor standard 10.
4. TLW place their work on the tables for a gallery walk by the students to observe and discuss their processes, Anchor Standard 4.
Teacher Materials
Bed sheet strung up with string or other means, light source such as shop lamps, teacher example of shadow picture and any paintings, rubric on paper ( 1 copy for each student), computer with any cables needed, monitor, PowerPoint.
Demonstration materials: water-based oil paint, brushes, cotton rag, exact-o knife or scissors, cutting mat, cup for water, paint tray, 2 sheets gesseod heavy paper.
Student Materials
Paper of various types (should be newspaper and recycled Cardboard, Glue & masking tape, scissors & exact-o knives, cutting mat, pencils, smartphone camera, gesso and large brush to apply, plastic knives, note cards of any size. hot glue, cotton rags (1 per student), paint trays or paper plates, water cups, canvas already pre-gessoed, at least letter sized (8.5 x 11 in.), heavy duty paper of letter size or larger, water-based oil paints of various colors, brushes of many sizes and types including fine hair and bristle brushes.
Artists in context
Key Artists: Kara Walker, Moses Williams, Pablo Picasso, Augustine Edouart, Javier Tellez
Key Artworks: Kara Walker, (video shown in launch), https://art21.org/watch/art-in-the-twenty-first-century/s2/kara-walker-in-season-2-of-art-in-the-twenty-first-century-2003-preview/
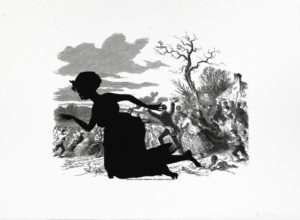
Walker Kara Walker, Alabama Loyalists Greeting the Federal Gun-Boats, from the portfolio Harper’s Pictorial History of the Civil War (Annotated), offset lithograph and screenprint on paper, 39 x 53 in., 2005.
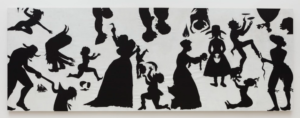
Kara Walker, Slaughter of the Innocents (They Might be Guilty of Something), 2017, cut paper on canvas, 79 x 220 in.
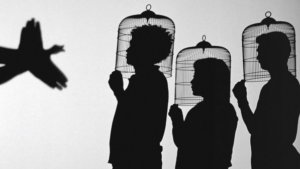
Javier Tellez, Shadow Play, 2014, still from 35 mm film, silent, 10 min, 56 sec.
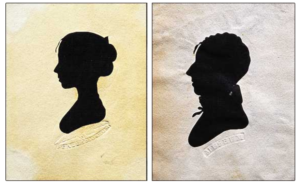
Moses Williams at the Charles Willson Peale Museum, cut paper glued on paper, 3.75 x 4.75 in.
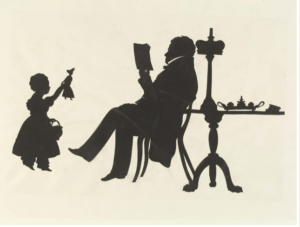
Augustin Eduoart, Wilkinson Family, 1829, cut paper glued on paper.
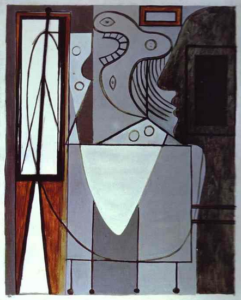
Pablo Picasso, Silhouette of Picasso and Young Girl Crying, oil on canvas, 1940.
teacher examples
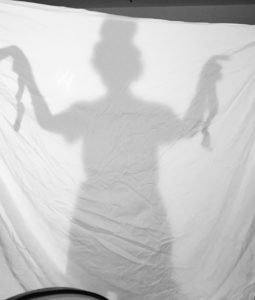
Example of shadow photo of self as Minoan Snake Goddess, 2019.

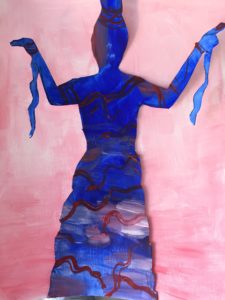
Rub-out, water-based oil painting on gessoed paper of self as snake goddess, 2019, 8.5 x 11 in.
Montage example on gessoed paper, glue, water based oils, 8.5 x 11 in., 2019
key critical questions
- How do Walker and Tellez play with identity in their work, specifically African American and immigrant identity?
- How does a silhouette capture the essential aspect of someone’s identity, or does it?
- How could you use objects or paper sculpture in your work to make a new identity that you have chosen?
- As in Picasso’s work, how does the context or background add meaning to the figure?
Vocabulary and language acquisition
Discipline Specific:
Form: three-dimensional shapes expressing length, width, and depth. Balls, cylinders, boxes, and pyramids are forms.
Space: is the area between and around objects. The space around objects is often called negative space; negative space has shape. Space can also refer to the feeling of depth. Real space is three-dimensional; in visual art, when we create the feeling or illusion of depth, we call it space.
Value: The lightness or darkness of tones or colors. White is the lightest value; black is the darkest. The value halfway between these extremes is called middle gray.
Contrast: A principle of art that refers to the arrangement of opposite elements (light vs. dark colors, rough vs. smooth textures, large vs. small shapes, etc.) in a piece so as to create visual interest.
Emphasis: is the part of the design that catches the viewer’s attention. Usually the artist will make one area stand out by contrasting it with other areas. The area could be different in size, color, texture, shape, etc.
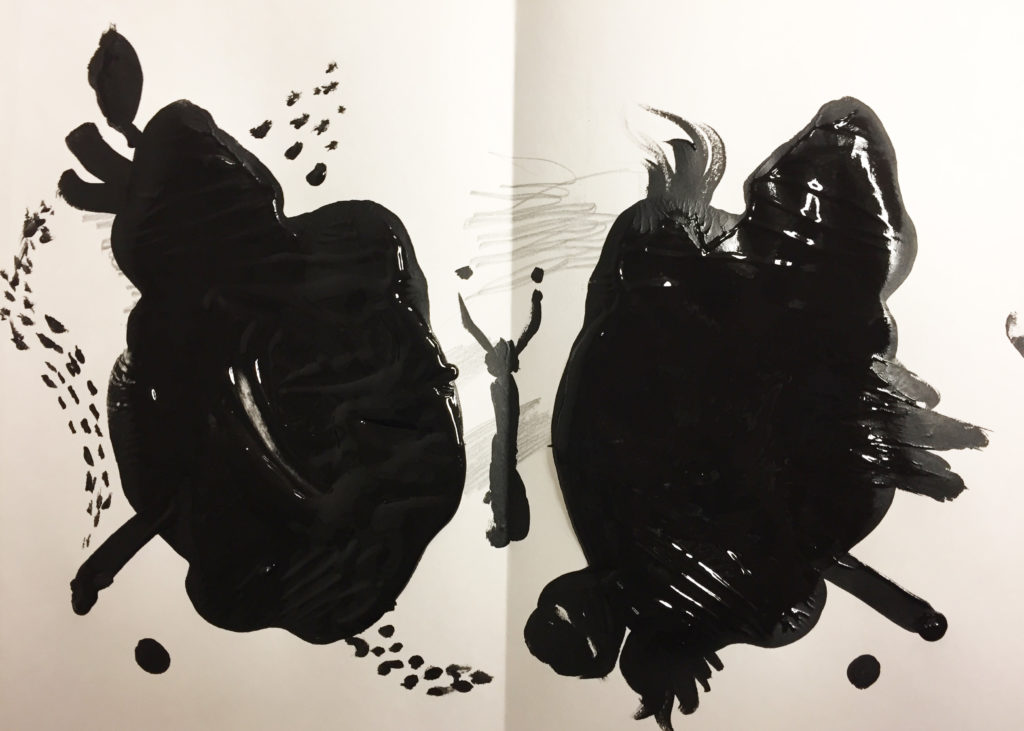
Rub-out: In painting, this refers to the technique of applying a solid color of paint on a surface and then removing it in order to take out the light areas, while leaving the dark ones.
Edge quality: In painting, this refers to the quality of the boundary between the object and background or context of the piece. For example, it could be soft, hard, blurred, jagged or blended.
Atmosphere: a technique of rendering depth or distance in painting by modifying the tone or hue and distinctness of objects perceived as receding from the picture plane.
Academic:
Identity: the fact of being who or what a person or thing is; a close similarity.
Silhouette: an image or design in a single hue and tone, most usually the popular 18th- and 19th-century cut or painted profile portraits done in black on white or the reverse. Silhouette also is any outline or sharp shadow of an object.
Montage: the technique of producing a new composite whole from fragments of pictures, text, or music.
Context: the circumstances that form the setting for an event, statement, or idea, and in terms of which it can be fully understood and assessed.
Language modes
Reading
- Students will analyze a small amount of reading in PowerPoint and if they do research on their phones/computers.
- Visual reading of images in slides, looking at content, style and meaning.
Writing
- Writing the closure statements at the end of class.
- Filling out rubric in a self-assessment with comments
Listening
- Students will listen to each other during presentations and collaborative time.
- Students will listen to the teacher during the introduction and demonstration of the lesson.Speaking
- Students will respond to teacher’s and classmate’s questions and offer ideas during discussion time.
- Students will respond to each other and ask questions when/ if they are confused or struggling during studio time.
- Students will practice speaking in front of the class during presentations.
Accommodations for specific diverse learners
Enrichments and Extensions
- Advanced students can research more specific information and images about their chosen person or character.
- These students can also build more elaborate costumes or work with a partner to make a shadow tableau in tandem.
Activity for Early Finishers
- Students who finish early can make the other option for the their painting; if they made a rub-out, they can do the cut out image or vice versa.
- They can also make another sculptural costume to play around with in the light.
- Students can write a short story paragraph about their new persona.
OBJECTIVE-DRIVEN ASSESSMENTSDescribe the tools/procedures that will be used in this unit to monitor students’ learning of the lesson objectives. Attach/paste a copy of the assessment and evaluation criteria/rubric at the end of the lesson where the assessment will take place. |
|||||
| Objective # (s) | Informal or Formal? | Description of Assessment | Modifications to Accommodate All Students | Evaluation Criteria: What evidence of student learning related to the learning objectives and central focus does this assessment provide? | |
|
|
Anchor standard 2 | Informal
|
Teacher will walk around room to see if students understand the two painting techniques as well as creating a costume in shadow play. She will ask them questions to clarify if they seem confused. | Teacher can supply modifications such as a sponge adapted to hold a brush or personally show them the technique again. | This shows that by creating the two products: photo and painting of their choice, students understand the process of exploring shadow play in identity formation and making a connection to themselves through paint. |
| Anchor standard 2 | Formal (summative) | TLW fill out a self-assessment rubric teacher provides and returns to teacher with comments. | Teacher can read to the student and they can respond verbally or through a device. | This shows that students can self-reflect on their process and share with another student or a teacher. | |
| Anchor standard 8 | Informal | TLW engage in a discussion with peers and teacher about how the artists shown in the slides play with identity in their art. | Students can write on a paper if they do not feel comfortable sharing in front of the group. | Provides immediate feedback to teacher based on the quality and depth of their answers regarding the topic. | |
| Anchor Standard 10 | Informal | Teacher will observe students at play in creating their personas in shadow play. Also, teacher will discuss with student about empathy for their person or object and how they can express these feelings in paint. | Student can have a partner help them create their costume if they cannot construct it themselves. | This shows that students are able to empathize with someone or something outside of themselves or allows another part of their personality to emerge. | |
| Anchor Standard 4 | Informal | Gallery walk when students are done creating their paintings and filling out of the note card with closure question. | Students can be given more time to complete their painting at a later date if needed. Students can speak their answer to another student or teacher. | Students are able to share their images and gain insight from discussing each other’s processes. | |
INSTRUCTIONAL STRATEGIES AND LEARNING TASKS
| Launch | Instruction Methods | |
Warm Up 1. Students will be given one piece of paper, scissors and tape and asked to alter their appearance somehow behind the screen with a light source. They can also use objects in the room. They will have more time to experiment with paper and objects later in the introduction (4 min.) 2. They will take turns going behind the screen and others can look. (1 min.) |
|
|
| Instruction | Instruction Methods | |
| Procedure
Lesson Introduction: (15 min.) 3. Instructor will present the problem generally of how they can create a new identity behind the screen using their bodies and paper or object sculpture (found objects) and then using painting with a new background. They will be given two choices for the painting: rub-out and montage (cutting around their shadow form) and teacher explains she will give more information in a minute during the slides. (2 min.) 4. Slide presentation of short history of silhouettes and its relation to painting as well as the artists Kara Walker, Pablo Picasso, Javier Tellez, Augustin Edouart and Moses Williams. (5 min.) 5. Teacher presents the two techniques of rub-out and montage through a live demonstration. (3 min.) Create: (60 min.) 6. Students will have time to work and assemble materials for the shadow portion. Students can do research on their phones online. Teacher will take a picture of students on the classroom iPad and print out images for them. 7. Using this photo, they will make a painting using one of the two techniques listed above. The rub-out will be on prepared canvas and the montage on a gessoed piece of paper. They must gesso this themselves if using this option. (Gesso dries in 5 minutes.) Closure: (8 min.) 8. Students will display their work on their tables for peers to see in a gallery walk. 9. They will fill out the self-assessment circle rubric and hand back to the teacher with any comments that they added. 10. TLW write on a note card the closure question listed below and return to teacher after sharing with a peer. Clean up: (7 min.) 11. Students will return materials to their proper places, clean and organized. |
|
|
| Structured Practice and Application | ||
| How will you give students the opportunity to practice so you can provide feedback? | Opportunity for Independent Practice: Students can practice the rub out and montage techniques as teacher demonstrates and use the language as they work, asking questions.
Supplemental Texts: Books available in class: Hand Shadows by Henry Bursill; Stoichita, V. (1997). A Short History of the Shadow. London, UK: Reaktion Publishing. Also available: https://www.incollect.com/articles/peales-museum-silhouettes & Kara Walker’s Art 21 video https://art21.org/watch/art-in-the-twenty-first-century/s2/kara-walker-in-stories-segment/ |
|
| How will students apply what they have learned? |
|
|
| How will you determine if students are meeting your intended learning objectives? | Assessment:
Formative: Teacher will circulate through the room observing students’ artwork to see if they understand the painting techniques and are playing with making a new persona in their shadow play, as well as see if they are making attempts as exploration of materials and concepts. Instructor will ask if they have any questions about the activity. Summative: There will be a self-assessment through a rubric provided by teacher and attached to the end of this form, handed back to the teacher with any additional comments. Additionally, students fill out a note card with the answer to their closure question at the end of the activity: see “Lesson Closure.”
|
|
| Closure | Instruction Methods | |
Lesson Closure: Students will write on a note card the answers to the following and return to the teacher:
|
|
|
Self-assessment Rubric
Please download the rubric here
TSuttonShadowRubric
References
Bursill, H. (1993). Hand Shadows. Kent, England: Pryor Publications.
Edouart, A. (1829). Silhouettes by Augustin Edouart. Spencer Alley. Retrieved from http://spenceralley.blogspot.com/2016/11/silhouettes-by-augustin-edouart-19th.html.
Kara Walker in stories. (2003, September 1). Art21. Retrieved https://art21.org/watch/art-in-the-twenty-first-century/s2/kara-walker-in-season-2-of-art-in-the-twenty-first-century-2003-preview/
Picasso, P. (1940). Silhouette of Picasso and young girl crying. Pablo Ruiz Picasso. [Website.] Retrieved from https://www.pablo-ruiz-picasso.net/work-193.php.
Root-Bernstein, R., & Root-Bernstein, M. (1999). Sparks of Genius. Boston, MA: Houghton Mifflen.
Silhouette. (2019). Encyclopedia Brittanica. Retrieved from https://www.britannica.com/art/silhouette.
Stichita, V. (1997). A Short History of the Shadow. London, UK: Reaktion Publishing.
Tellez, J. (2014). Shadow play. Peggy Guggenheim Museum. Retrieved from https://www.guggenheim.org/exhibition/javier-tellez-shadow-play.
Verplanck, A. (2012, October 16). Peales Museum silhouettes. Incollect. Retrieved from https://www.incollect.com/articles/peales-museum-silhouettes.
Walker, K. (2005). Alabama loyalists greeting the federal gun-boats, from the portfolio Harper’s Pictorial History of the Civil War (Annotated). Retrieved from https://americanart.si.edu/artwork/alabama-loyalists-greeting-federal-gun-boats-portfolio-harpers-pictorial-history-civil-war.
Walker, K. (2014). Slaughter of the innocents (they might be guilty of something). Brooklyn Rail. Retrieved from https://brooklynrail.org/2017/10/artseen/Kara-Walker-and-the-New-History-Painting.
Woolfolk, A. (2019). Educational Psychology. 14th ed. New York, NY: Pearson.


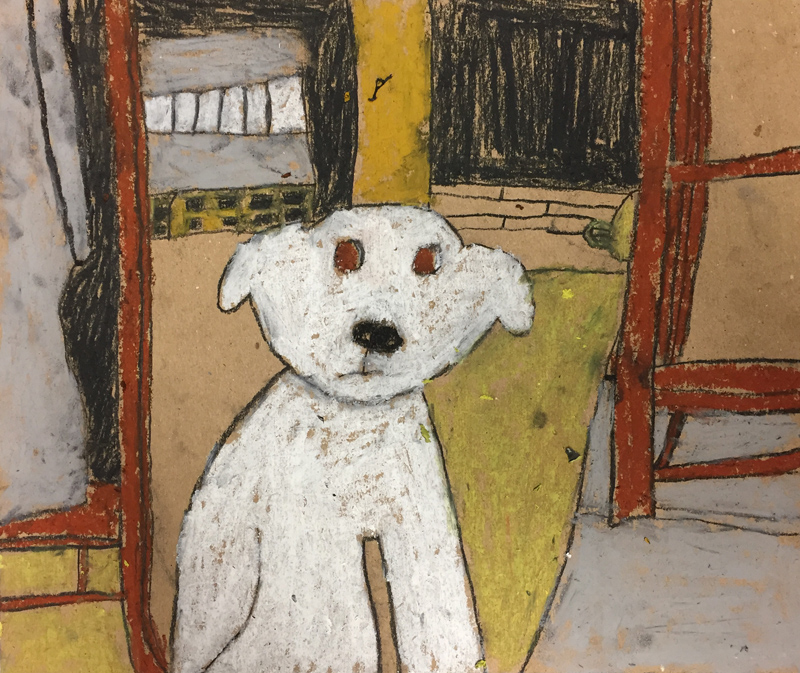


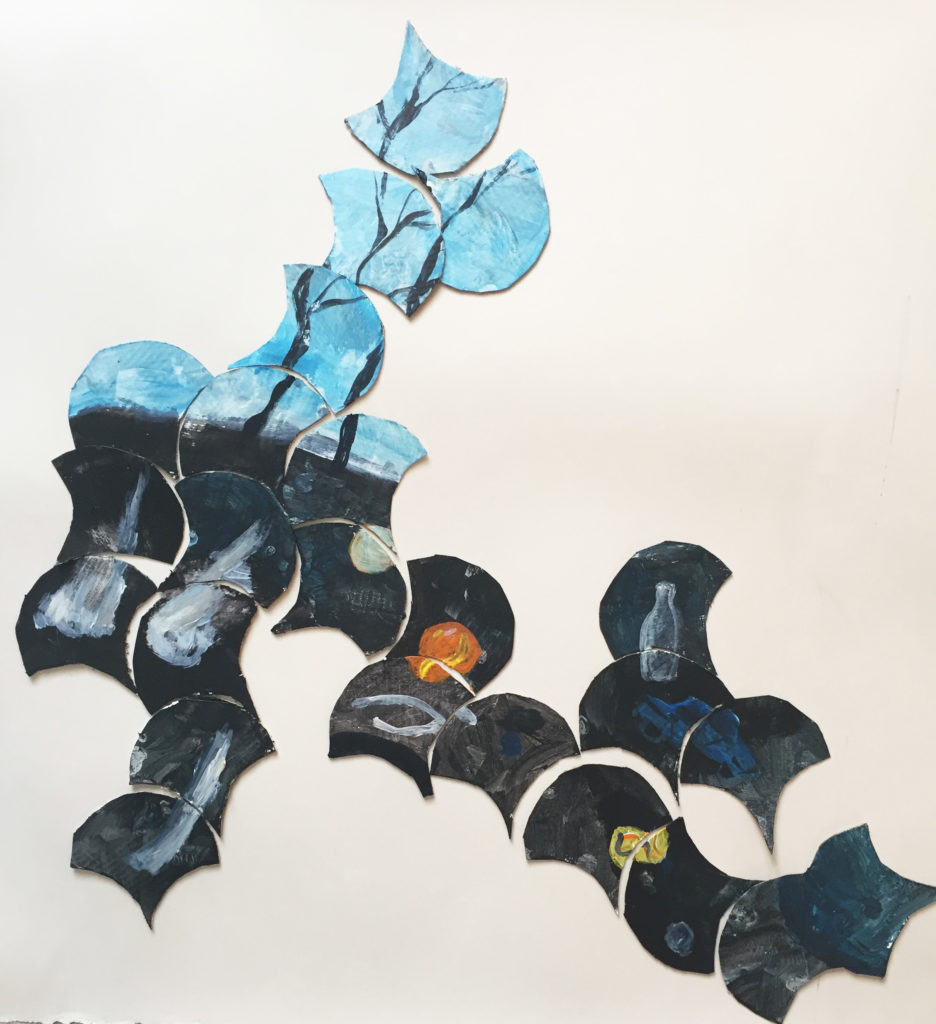


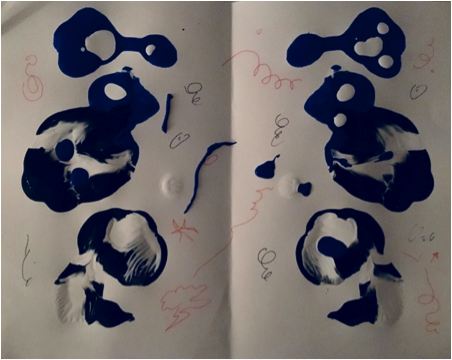


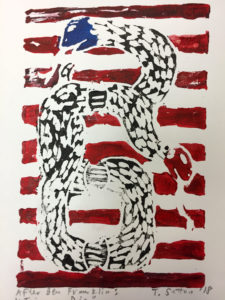
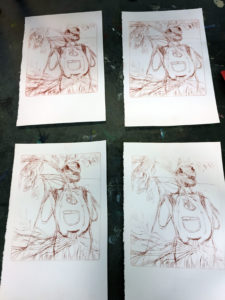
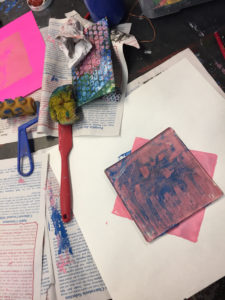
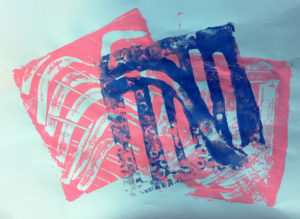
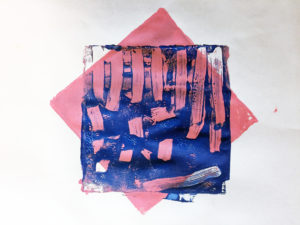
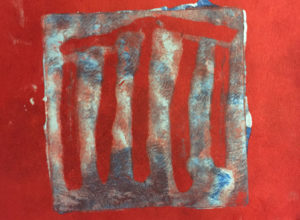
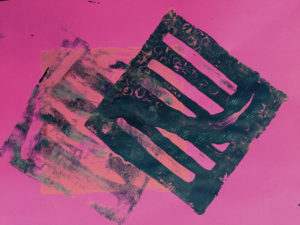
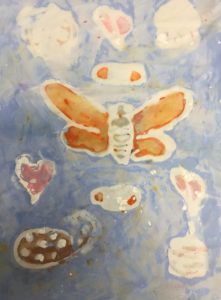
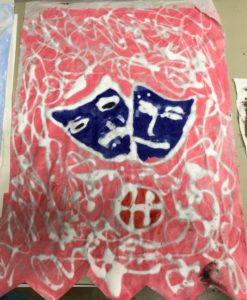
 After applying the ink with a roller and a brush for the red and blue parts, I tried this block print on mulberry, pastel, and lightweight drawing paper. I thought the mulberry paper worked the best. It absorbed the water-based block printing ink in a balanced way.
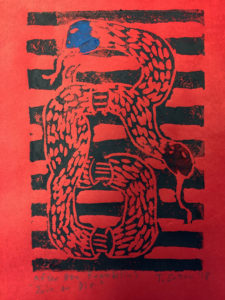