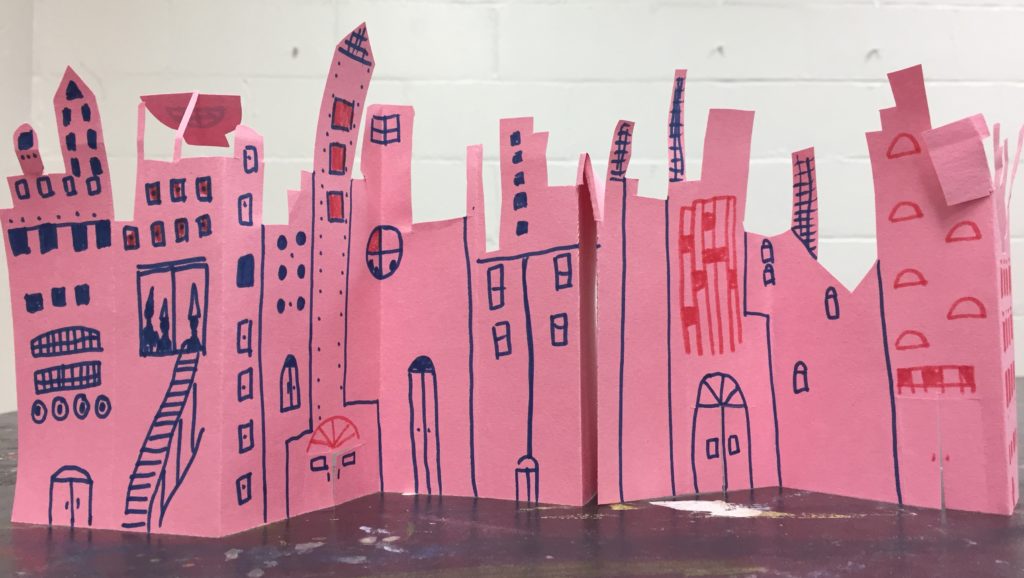
diving into new sketchbook Lessons from classmates
For our Art Education Studio class, each of us concocted sketchbook ideas that are out of the ordinary, centered around drawing. During each week of class, we are creating one of these problem-based assignments that are open-ended with some boundaries for concepts, techniques and materials.
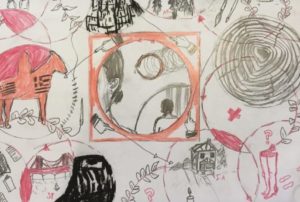
Mapping Identity
For our introduction to the class assigned by our teacher, I made an identity map with concepts and events from my life. I used circles to represent the spirals of things I’ve lived through and as a shape of continuity and wholeness in each time period. The only parameter was to draw a 3 inch square in the middle and go from there.
Sketchbook Investigation 1: Self-portrait
Assignment 1 was a self-portrait made using a reflective surface other than a mirror with 16 crayons. I used my computer screen which is a memorial to my grandpa, so I can see him everyday. I layered the crayons and melted them off with an iron with a paper on top. Then I went back in with a knife and scraped some more off before adding additional crayon.
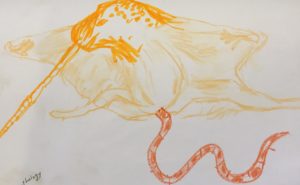
Sketchbook Investigation 2: My First Chimera
The second one I made was three animals pieced together that was alive now or had been at one point, each with a different drawing medium. This became a narwhal-snake-flying squirrel creature of land, earth and sky. I used crayon, colored pencil and marker.
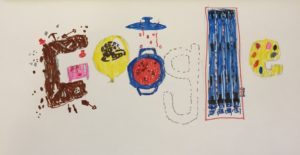
Sketchbook Investigation 3: Google Doodle
For this assignment, we made Google doodles about ourselves that might appear on the homepage for Google search. I made this out of marker and it shows an archeological dig, a balloon, cookware and a pool, among other things, showing my interests.
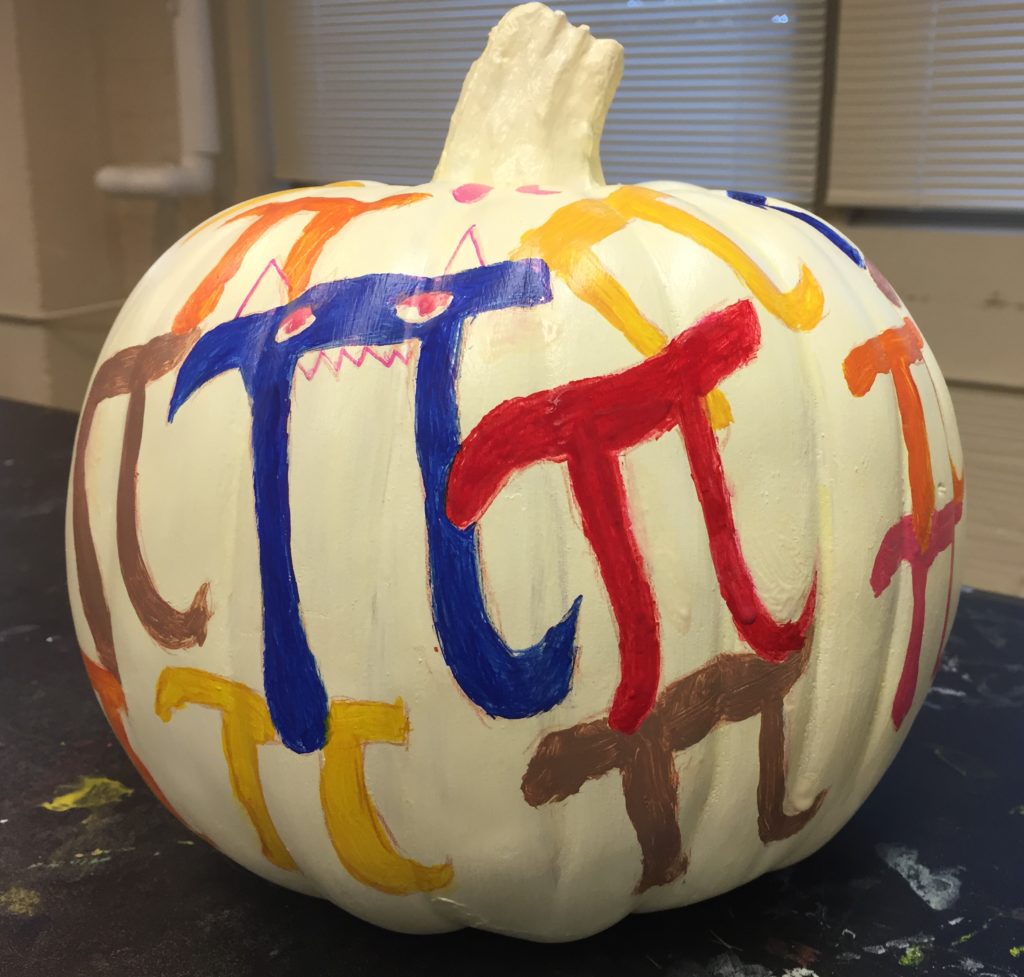
Sketchbook Investigation 4: Pumpkin Pi
For this one, we made an initial design for a pumpkin to be auctioned off at Shelter House, a local organization that helps the homeless. I used acrylic paint. Actual pumpkin decoration linked here: https://arted.tessasutton.com/2018/09/20/pumpkin-auction-at-shelter-house.
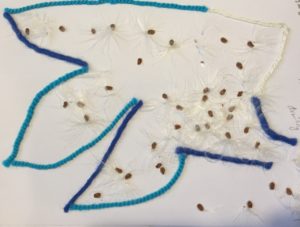
Sketchbook Investigation 5: Dreamy Milkweed
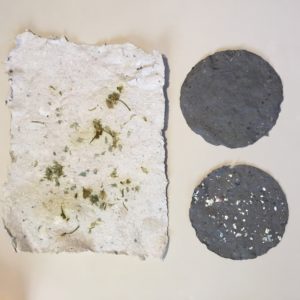
In this assignment, I created a composition without using traditional drawing materials. Here, I used milkweed I gathered on one of my many walks near my home and some scraps of yarn. I glued them on.
Sketchbook Investigation 6: The Mariana Trench
In #6, our parameters were to draw a place from imagination using lots of rich color and detail. Using chalk colored pencils, I drew the Mariana Trench which is located off Guam. I’m interested in the stillness and quiet found there as well as a sense of the unknown.
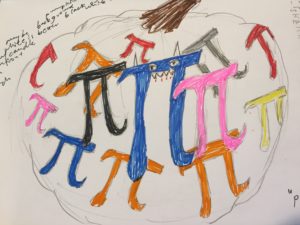
Sketchbook Investigation 7: Shadows and Colors
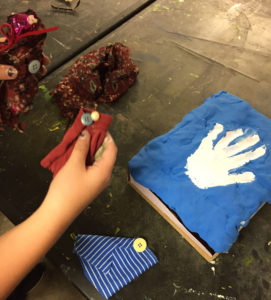
This one was about drawing a part of our body’s shadow cast by a light and then placing colors around it that we identified with. I chose markers and made shapes, thinking of a quilt around my hand.
Sketchbook Investigation 8: Looking into Depth
Using vine charcoal rubbed over the paper and then erased with a gummy eraser, I placed an object obscuring the view and then drew the scene. I went back in with a compressed charcoal, which is darker, to make the darks more absorbing. This gives you a background, middle and foreground.

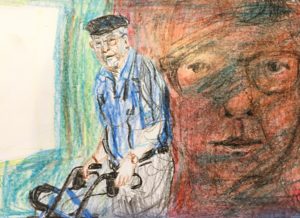
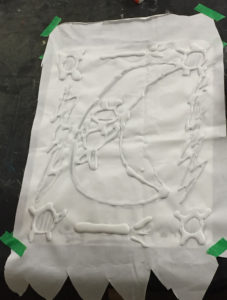
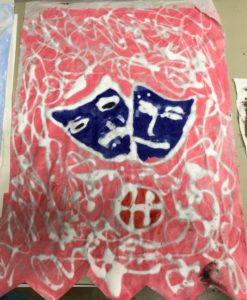
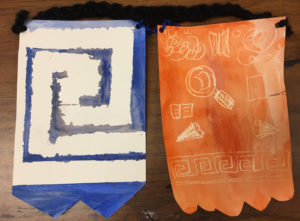
Sketchbook Investigation 9a: Illuminated Letter
For this assignment, we used a stencil to make an illuminated letter of our choice that we made a lino-cut out of, which you can see here. I have an interest in social studies, so I created a re-make of Ben Franklin’s, Join or Die (1754), in relation to the colonies uniting for the French-Indian Wars. This was later co-opted by the American Revolution as a banner against England. I’m using this to say that democrats and republicans should rise up together against the evils of the day.

Sketchbook Investigation 9a: Traveling On
This is the sketch for a dry point etching on plexiglass that we made in class. It relates to a personal story of traveling. You can see the finished intaglio here.
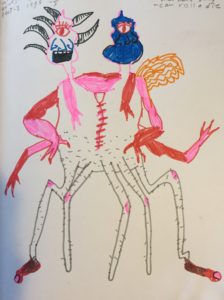
Sketchbook 9b: Making a Monster
In this sketch assignment, we needed to have 10 monster parts of different categories such as horns, eyes, noses, feet, etc.) I rolled a die to give me the number for each part. This is in marker. I thought this lesson would be great for elementary and junior high and gets your creative monster juices flowing.
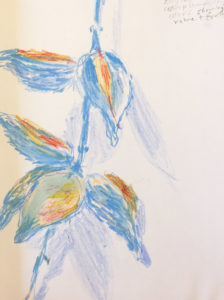
Sketchbook Investigation 10: Drawing from Nature
In this assignment, I drew a dried out milkweed with pods that I found on a walk because we were supposed to draw something from nature using complementary colors showing value and form. I used Stabilo pastel colored pencils, which I like to use because they blend easily. I used orange and blue with a light periwinkle as a shadow to provide definition and context.
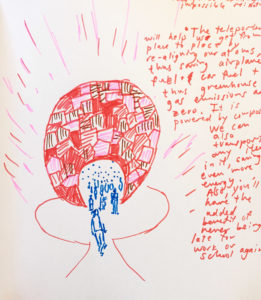
Sketchbook Investigation 11: Imagine the Impossible
For this one, we were supposed to create something impossible that could potentially be possible, relating to some aspect of the natural. I chose to make a teleportation device. We could not only move ourselves from place to place without greenhouse emissions from transportation, but also move materials easily. You would never be late to work or school again, and you could live anywhere in the world with no commute.
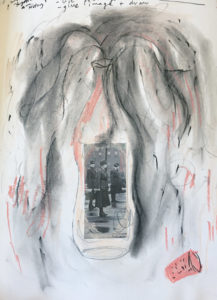
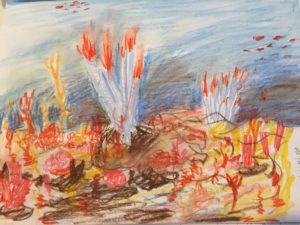
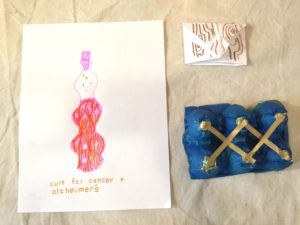
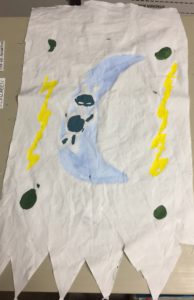
Sketchbook Investigation 12: Chance Encounters
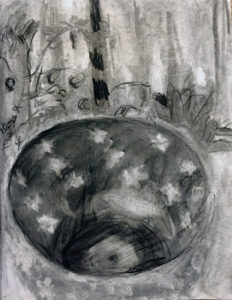
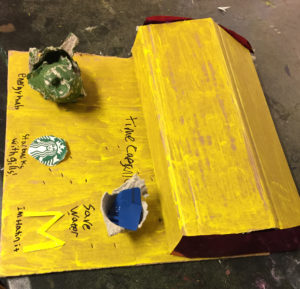
For this lesson, which was my lesson that I submitted, I had my classmates use a fragment of an image taken by chance from the internet based on sentences or phrases in the last work they made and generate a new drawing incorporating some aspect of a poem from a poem generator online. Steps are below. Drawing materials and techniques were their choice. My example is in pastel and pencil. I used an image of the Spanish Flu from WWI after googling “forgotten American history.” I made sort of a Pandora’s box in the shape of a bottle.
- Look back at your last piece of completed art and describe it with a phrase or sentence that you associate with it, poetic and/or conceptual. Use more than one word.
- Go into Google search and type in your phrase and see what comes up under images.
- Choose 6 images and roll a die, assigning each a number. If you don’t have a die, you can randomly pick a number.
- Print out this image In any size you like and cut into 4 equal parts. Close your eyes and chose a section. Paste or tape this into your sketchbook.
- Using a poem generator, add phrases that you used earlier.
- Incorporate the image and poem concepts as you see fit.


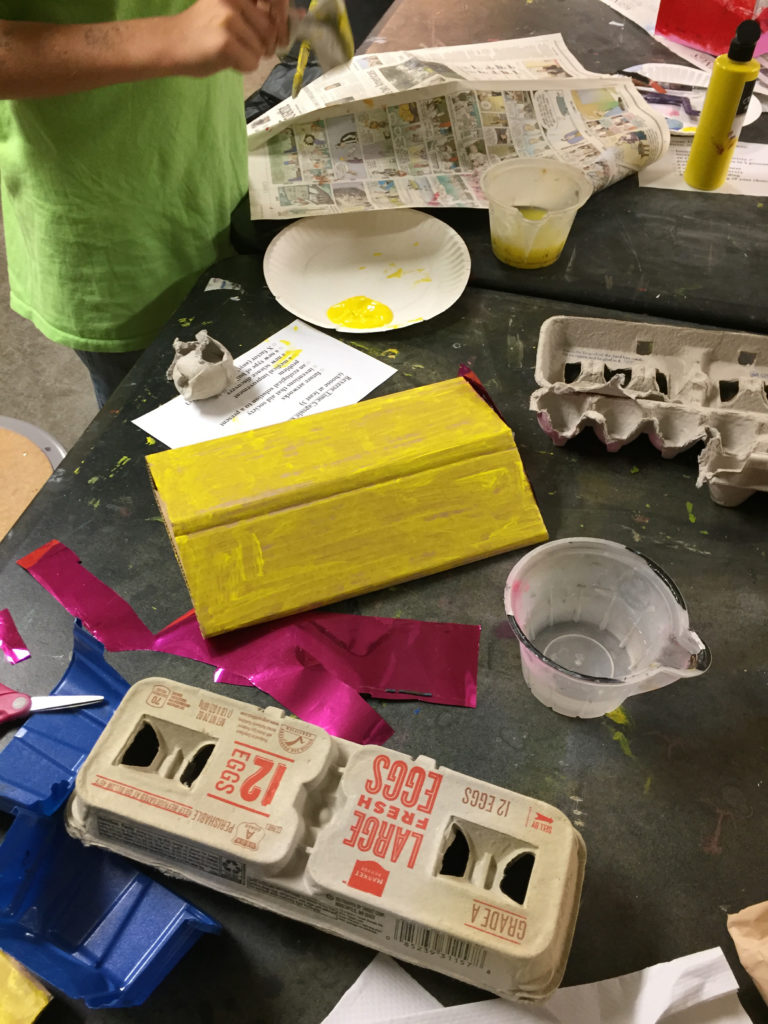
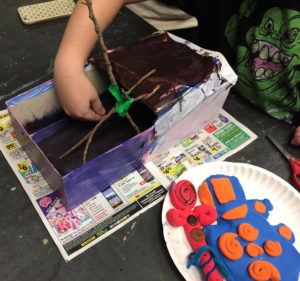
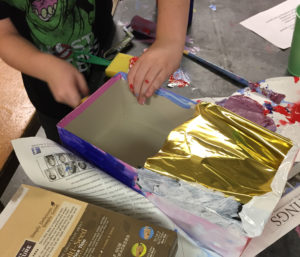


 They also get so excited that they don’t want to stop. Next time we can remind them to clean up 10 then 5 minutes before they need to so they’re expecting it.
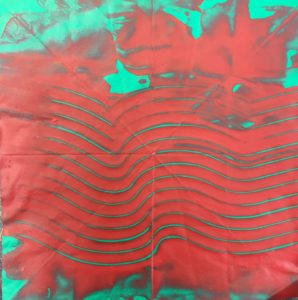
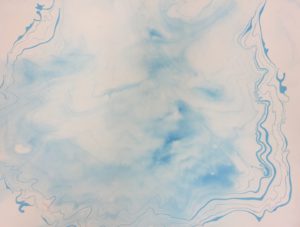
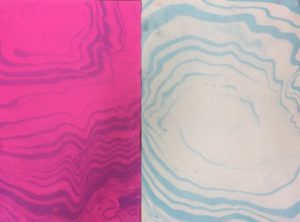
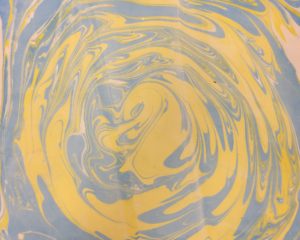
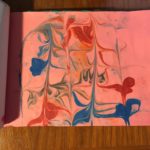
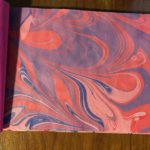
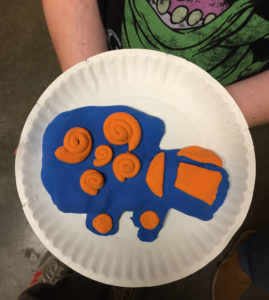
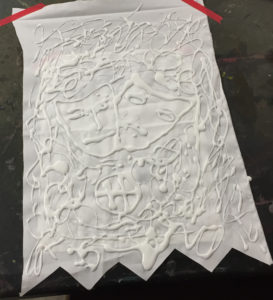
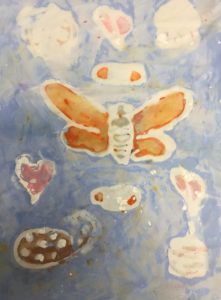
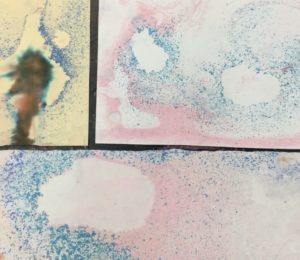 Prang Ambrite pastels shaved into water make a nice diffusion. I used dish detergent on a brush to disperse the color. It made it separate, but gives a splattered effect and a hole.