Geological Abstractions
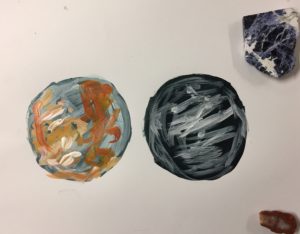
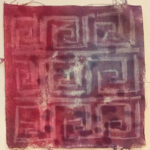
Observation of agate and sodalite
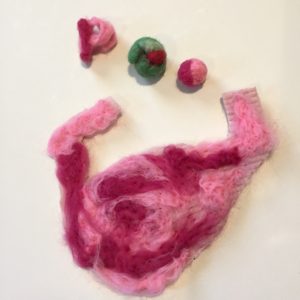
Observation of agates
Observation of sodalite
This week I taught a lesson where students observed and painted patterns and colors of rock samples that I borrowed from the geo-science department here at the University of Iowa. This lesson links geo-science with art, through the observation of crystals and minerals under a digital microscope where students enlarged sections with a partner or alone, and made a bigger, imaginary mineral formed through paint layering. Students learned about the types of minerals including metamorphic, sedimentary and igneous and how these are formed by viewing a PowerPoint.
Using analogous thinking, they used layering and the idea of structures and coloration as experimental methods to make abstract art, interconnecting the process of forming rocks with ways of painting. The observation part was interesting to me because as 4th and 5th graders, they’re moving into Lowenfeld’s pseudo-naturalistic stage of art and away from a more schematic stage, increasing detail and making things look as they are in reality.
Observation in process
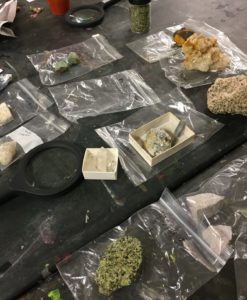
Some rock samples: one is even from the Earth’s mantle
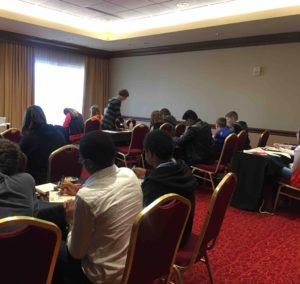
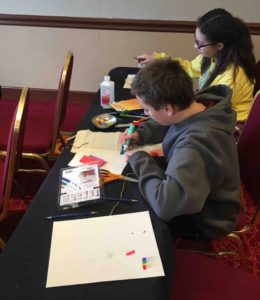
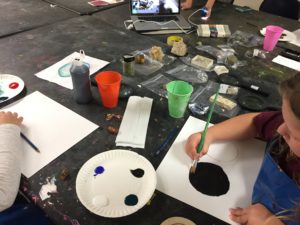
I started off the lesson in our opening ceremony asking them what they did this week that was creative, then launched into asking them questions about different types of rocks and if they had a collection, to get them engaged. I spread the rocks out on the table with magnifying glasses, so when they came in, they had something to explore. From the last lesson I learned to keep the materials at bay until I had explained the lesson, gone over the slides and quizzed them about types of rocks. This was more successful. According to Michael Linsin in “Classroom Management for Art, Music, and PE Teachers,” if you give clear directions to students to start with, then there is less confusion.
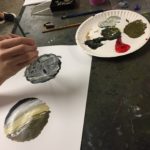
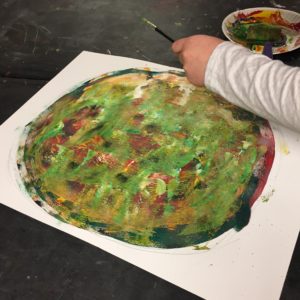
Painting a mineral
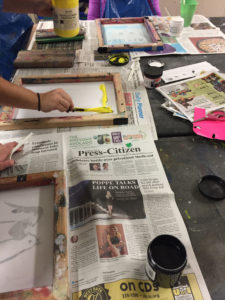
I asked them if they had any questions about the activity and then demonstrated scumbling and under painting, including using sandpaper. I explained how they would make two circles on paper using a roll of masking tape and then using the digital microscope, take a picture of their stone. After each one had taken a picture, I put the three images up on the computer so they could all see them. I think in a full class of students, I would have a few kids use the microscope and then enlarge on the projector so everyone could see and choose one.

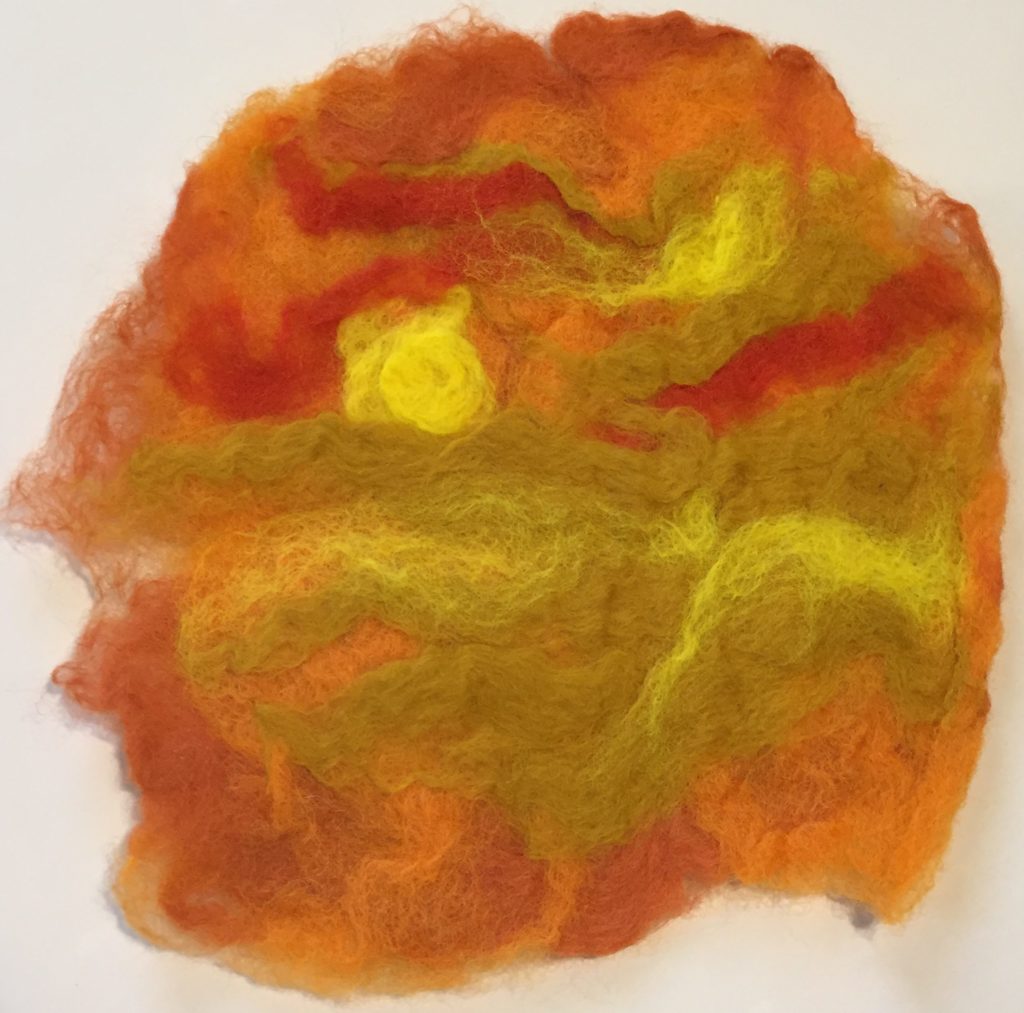
“Killer Bunny”

“I Have Homework”
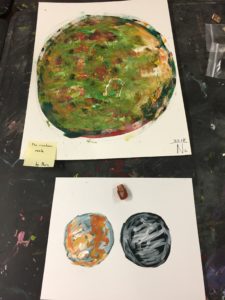
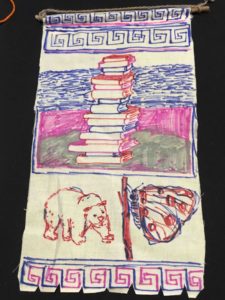
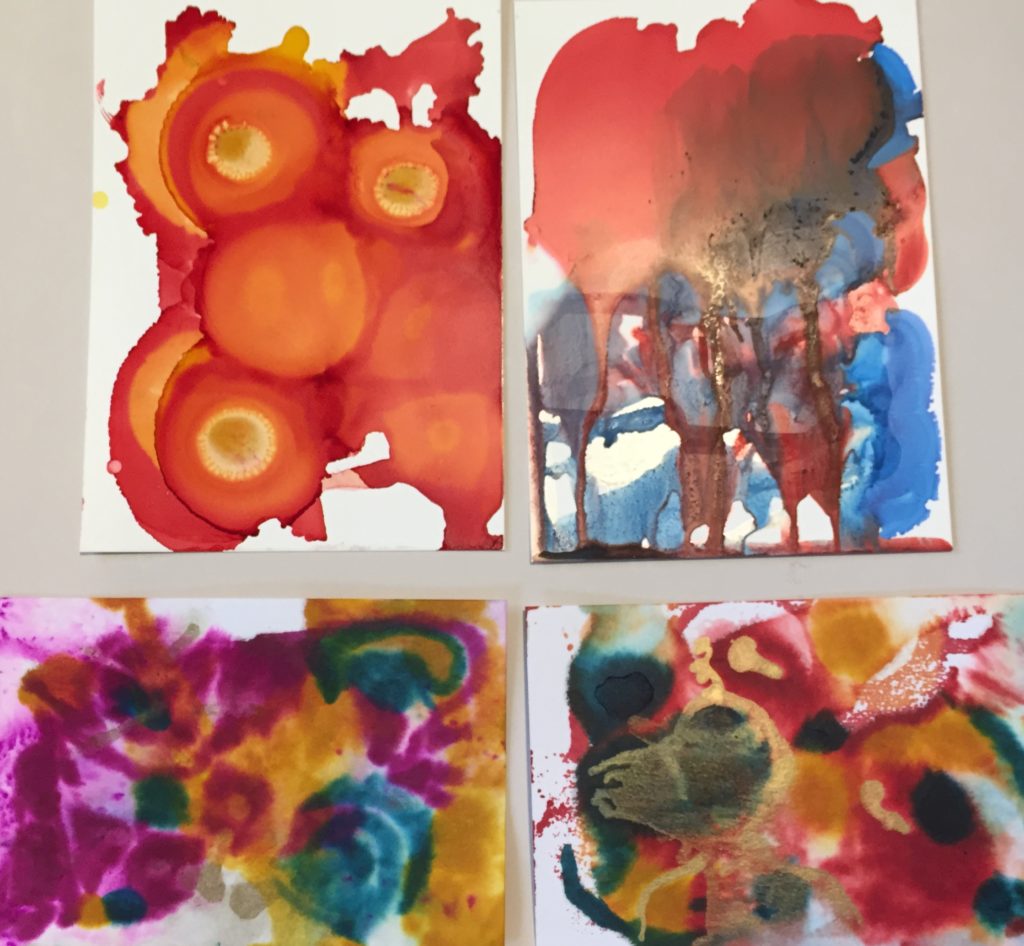
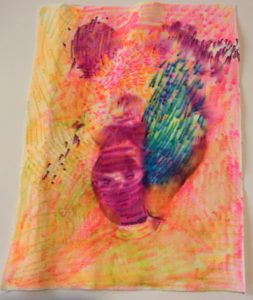
“Rainbow Rock”
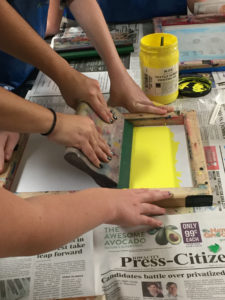
They completed their two small observation paintings and two chose to work together and one alone. After they finished drawing a circle on the large heavy, duty paper with a string attached to a pencil with tape, I explained to them that they would enlarge their small drawing by choosing either the pattern or the color as a starting point for their new rock. This seemed to go well and once they had paint in hand with a roller and brush it flowed out, in fact, too much. One group used a lot of paint, however, so next time I will mention to use paint sparingly. Together, we scraped some paint off the work.
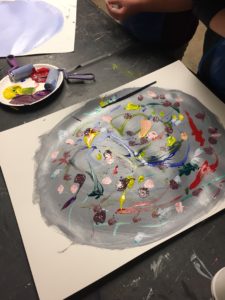
Collaborating
Two girls completed both paintings together, and they came up with the ideas for the color and application as a team. They also asked themselves the question, “When is this finished?” which was great because I was going to pose that. Their response was: art is never finished and then I said you can both decide together when that moment is, based on what you want it to look like.
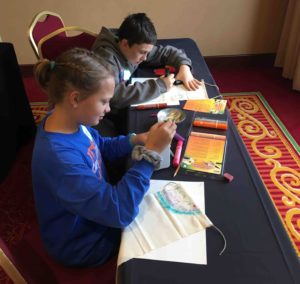
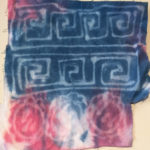
The other student finished her painting early and decided to free draw and work on her batik from a previous class as a sponge activity. Pacing seems to be variable, like in the other classes.
Working on “Rainbow Rock”
In “Formative Assessment in the Visual Arts,” Andrade, Hefferen and Palma talk about collaborative assessment that peers can do for each other as a useful tool. These two students played together with techniques, deciding what was working and what wasn’t. At the end, I had them write their title on a post-it note and place next to the paintings in the gallery walk. Each student talked about why they thought their piece was successful and how they started the process. Using this kind of self-assessment is helpful for all of us because they explain to other students what they are learning and the teacher knows too.
Overall, this lesson went well because the students were engaged in honing their observation skills, experimenting with new painting techniques, collaborating if they chose to, and displaying their pieces for their peers using an inventive title. They also learned more about rocks and minerals, so this lesson could tie into earth science in 4th and 5th grade.
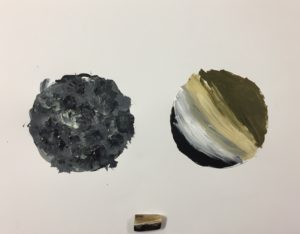
Teacher Examples:
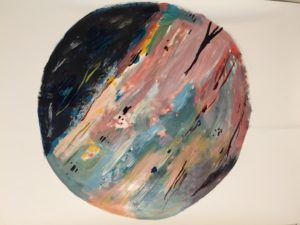
“Spacelite”
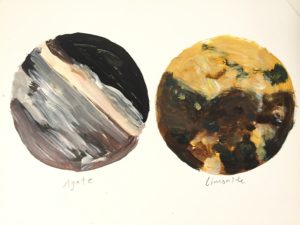
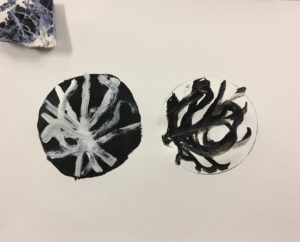
Observation Examples