Donating Handmade Scarves to Twain Elementary School

four finger knitted scarves for the kiddos

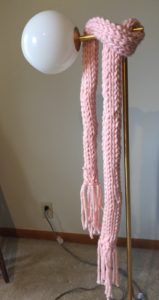
As part of our community arts projects, we made four finger knitted scarves in bulky yarn made of wool and acrylic (in case of allergies).  After making two strands of these about four feet long, I sewed them together with a tapestry needle from the backside.  We’re donating them to kids.

Detail

Detail

Four finger knitted scarf

Four finger knitted scarf

Day of Remembrance at the Holden Cancer Center–10.3.18

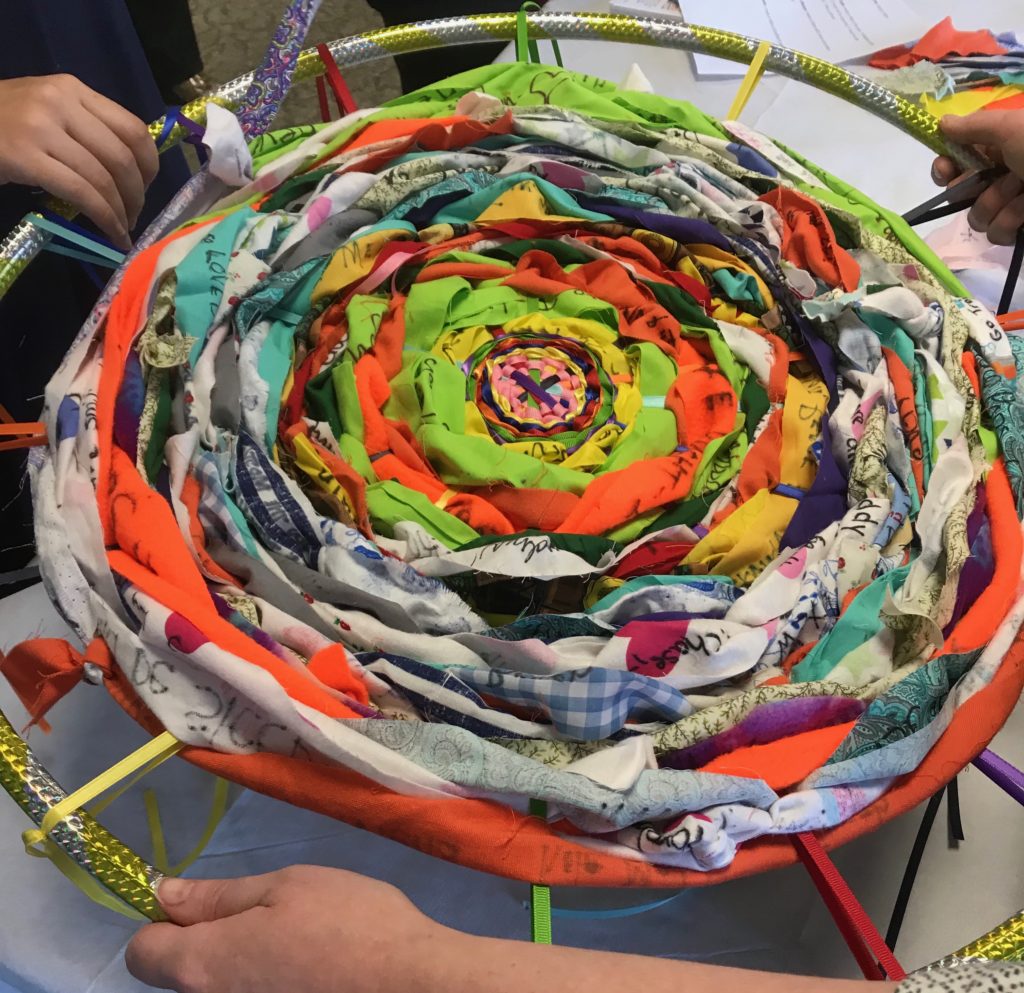
Memory Wheel

Memory Wheel

We volunteered at the Holden Cancer Center at the University of Iowa Hospitals as part of our class.  Bereaved people who had lost a relative or friend came and wrote on strips of colored fabric as a memorial to their loved one.  They could also snip a piece of the fabric and take it home on a card as a reminder of the day.  When completed, the ribbons formed a colorful wheel where the writing became private.

Inks & Chromatography

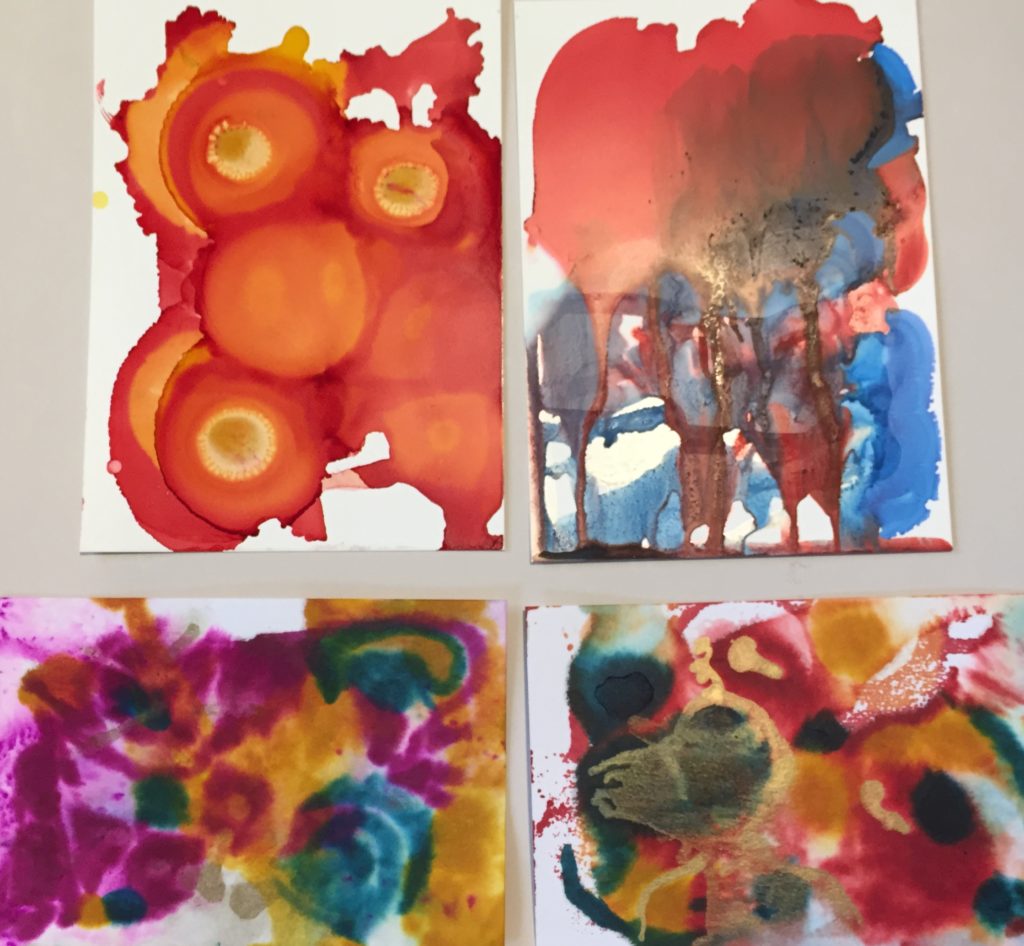
alcohol inks

Alcohol Inks on Yupo and Watercolor Paper

Alcohol Inks on Yupo and Watercolor Paper

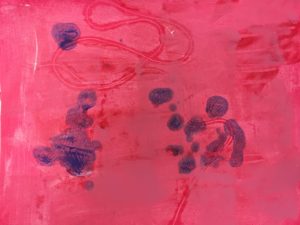
The watercolor paper gives a softer, mottled effect, whereas the Yupo paper is glossy and imparts brighter colors to your designs.  You can use layering as it dries, as well as a straw to blow the ink over it after you’ve applied the 90% rubbing alcohol with a dropper.  You can also move the paper around to make drips and designs.

Markers and Rubbing Alcohol

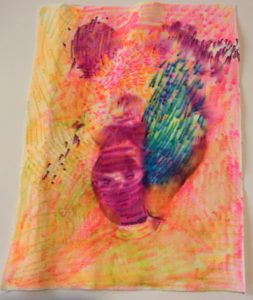
Sharpies and Watercolor Markers with Rubbing Alcohol

Sharpies and Watercolor Markers with Rubbing Alcohol

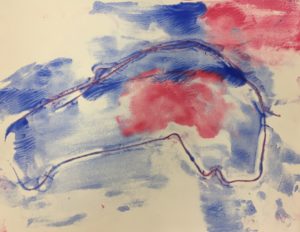
This process involved using washable water-based and fabric markers.  After you use them, you drop rubbing alcohol on them to create a tie-dye type effect. This was made on canvas.

chromatography

Chromatography

Chromatography

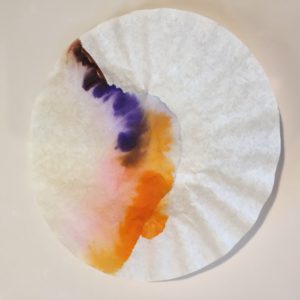
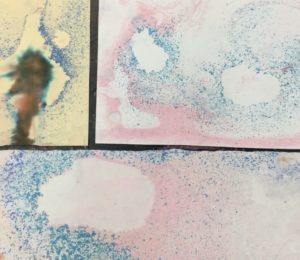
This is a fun process that you could link to science lessons in your classroom, based on the idea of chromatography.1 This means that different colors have molecules that separate out based on how much they are absorbed by the paper.  Using a coffee filter, we applied washable markers to the paper and stuck in a cup of water part way.  The colors wicked up and separated out.


1 Keller, R., & Giddings, J. (2018). Encyclopedia Britannica. Retrieved from https://www.britannica.com/science/chromatography

Spinning Yarns about Textiles: Batik, Felting & Finger Knitting

Batik: Toothpaste/lotion mixture & Crayon resist

Traditional batik was brought to Africa in the 19th century by English and Dutch traders traveling from Indonesia before stopping in Africa. Many African tribes, including the Yoruba from Nigeria, Wolof and Soninke from Senegal, and Bamana from Mali, started to experiment with their own designs using mud, cassava starch and rice paste instead of wax to resist the
dye.1

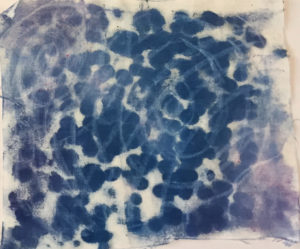
For our own batik examples, we used a novel combination of white toothpaste mixed with lotion in about equal quantities.  You can use any type of lotion: petroleum or plant based.  One option is to make a drawing on a piece of paper underneath and then trace with the mixture in a squeeze bottle over the top on the fabric, or you can freely apply, which is what I did.

Crayon Resist

Crayon Resist

Batik Toothpaste & Lotion

Batik Toothpaste & Lotion

Crayon Resist

Crayon Resist

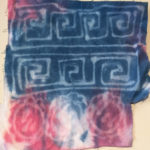
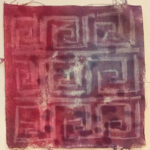
I made a Greek keys design since I’m half Greek.  After you let the mixture dry for about two days, you can apply the fabric dye (or acrylic paint thinned with water) in any manner you choose.  I noticed that the dye bled through the fabric to the newspaper underneath, so I used that under a new sheet of fabric and dotted the dye back up into the design with my finger.

You can rinse out the dye after it has dried on any of the samples if you wish, but you have to rinse the toothpaste mixture one in cold water to remove the paste. Then hang to dry.  With the crayon resist, you can iron it under a newspaper to remove the wax after dyeing.

Wet & Dry Felting

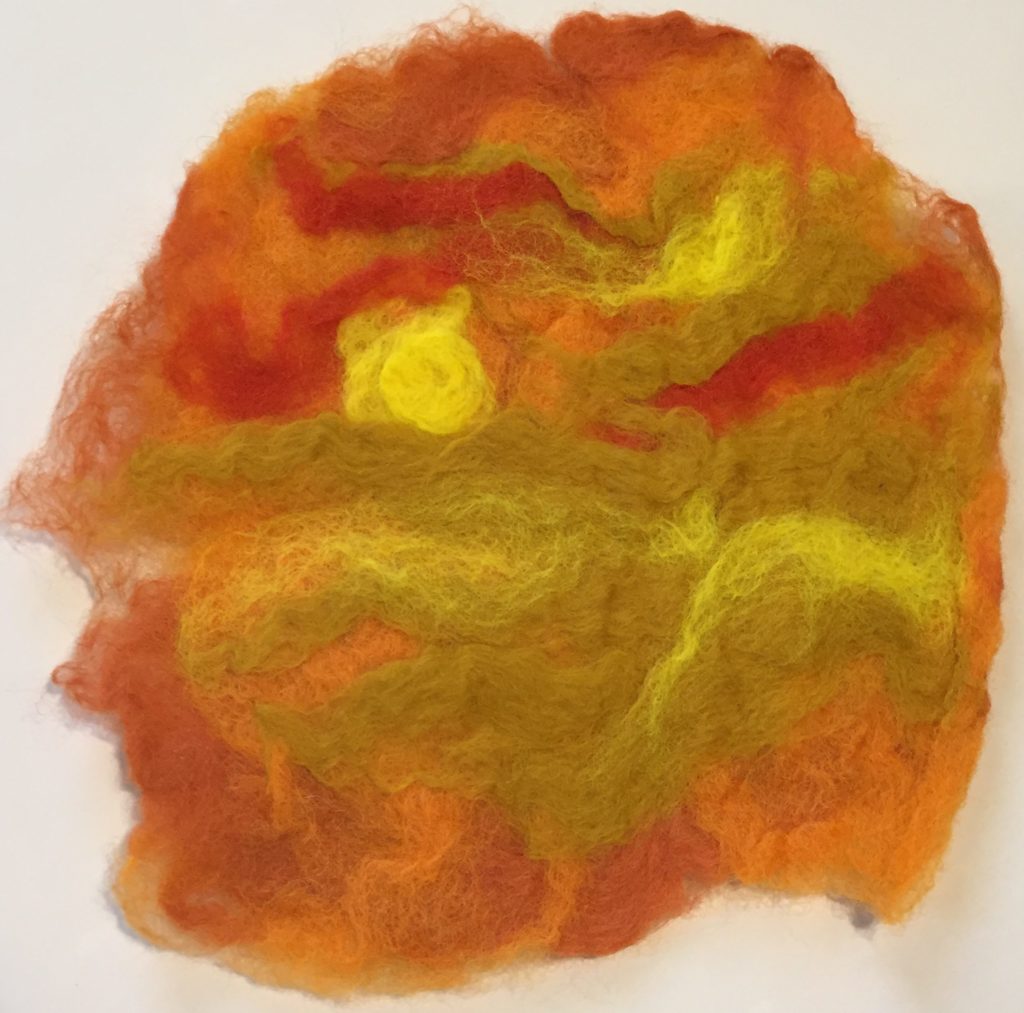
Wet felting is created through a process using wool roving from sheep.  I layered the felt by pulling bits apart and placing in a composition.  Each layer goes on top at a 90 degree angle and you can use about 4-5 layers, that way you don’t have holes in your felted object.

Felted Landscape: Sunset

Felted Landscape (wet): A Sunset or Jupiter?

Then you place in a plastic bag and spray with a  mixture of natural soap like olive oil and warm water because it has low suds. After sealing, we used a bamboo sushi roller under the plastic bag containing the wet felt, rolled up and agitating the bag for around 20 minutes, turning the bag every so often and re-rolling.  Allow to dry at least overnight.  This is a safe process for kids.

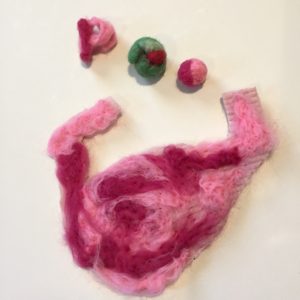
Dry needle felting is made by stabbing layers of roving with a felting needle around size 38.  The puncturing process holds the layers together as a type of felt that tends to be a bit hairier than wet felting, in more ways than one.

This isn’t a very safe technique for kids younger than middle school for sure, and probably mainly for those who are advanced, because you end up nicking your fingers if you’re not paying attention.

The letter P in the image below was made in a tiny cookie cutter and was probably the hardest to wrangle.

Felted Stomach with a Pimento, the Letter P and a Felted Gumball

Felted Stomach with the Letter P (also dry), a Felted Gumball (dry) & a Pimento (wet)

finger knitting

Finger knitting can be done on one or multiple fingers, in this case, we used four.  I used to do this as a kid and remember making a purse.  You start by making a slipknot for the one finger method, taking the yarn back around your finger and bringing the lower one up over the higher one and off and repeating.  The four finger method is easier to watch than explain in words.

For our class, we’re donating the scarves we made to Mark Twain Elementary here in Iowa City as part of community arts.

One finger knitting

One finger knitting

Four finger knitted scarf

Four finger knitted scarf

Detail

Detail


1Kitenge Store. (2018). Retrieved from https://kitengestore.com/traditional-batik-making-ghana-west-africa.

Sampler Book with Handmade Papers

a great way to collect your paper experiments

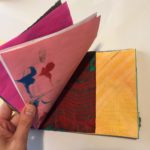
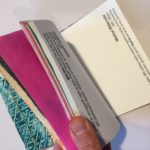
Sampler Book

Sampler Book

Sampler book pages

Sampler book pages


Our sampler books contain many of the handmade paper explorations we’ve done in class, linked here, such as Turkish, Suminagashi, shaving cream, Prang Ambrite pastel, rice or cornstarch paste paper, and handmade recycled paper.  I listed corn husk and papyrus paper below as well, which were all really fun.  I included many different types of drawing papers tucked away inside.

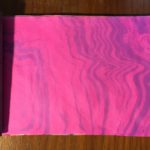
Rice paste paper

Rice paste paper

Shaving cream paper

Shaving cream paper

Cornstarch papers

Cornstarch papers

Turkish marbling

Turkish marbling

Suminigashi paper

Suminigashi paper


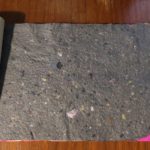
Handmade recycled paper

Handmade recycled paper


Other drawing papers

Other drawing papers


Inside we placed other papers suitable for watercolor and drawing, such as marker, pastel, illustration and various drawing papers.  These will come in handy when I’m thinking about new drawing projects for the kids and trying to decide which paper for them to use.

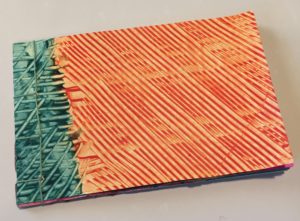
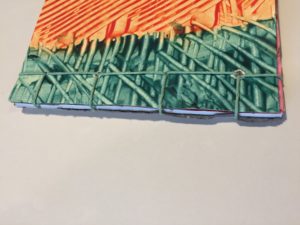
Japanese Stab Binding

Japanese Stab Binding

This is a form of binding which is suitable for small books that are not too thick, maybe an inch or less.  It’s a simple and elegant way to bind pages together.

Handmade recycled paper

Handmade recycled paper

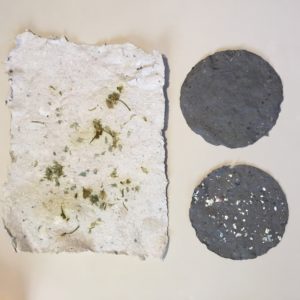
Here is some recycled paper made from soaking bits of paper overnight and then chopping up in a blender until they are fairly smooth.  You need to add a fair amount of water when doing this.  If you use a rag paper as an additive (in small quantities), you should use 100% cotton since it’s easier to work with.  After using a shaped screen and sponging the water out, it was fun to play with various colors and silver leaf bits as well.  You can add botanicals like flowers or seeds if you wish, during the screening process.


Other paper experiments: Corn Husk & Papyrus

Flattening the papryrus core

Flattening the papryrus core

Assembling the corn husks

Assembling the corn husks


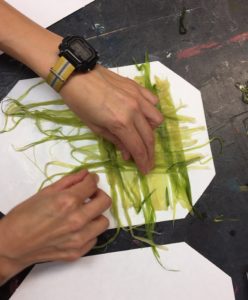
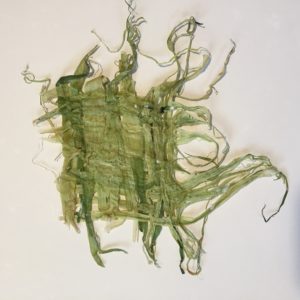
We made corn husk paper out of husks which are soaked in soda ash and cooked for 2 hours, which breaks up the fibers.  For this process you need to use gloves, a dust mask and good ventilation as well as only a stainless steel or enamel pot.  It can be quite toxic. Our teacher did this part for us. Then, you lay out the husks on a couch sheet to absorb the water, close together like weaving.  Afterwards, you press the papers together on a blotter paper or flower type press.

Corn husk paper

Corn husk paper

Papyrus

Papyrus

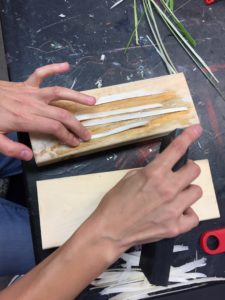
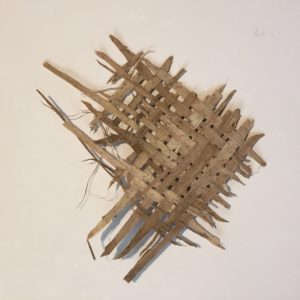
For the papyrus paper, we began by using veggie peelers and removing the green parts of the papyrus entirely until the white core remained.  Then, we peeled the white parts into smaller units and crushed under a rolling pin and blocks of wood to increase the surface area.  We soaked these a couple of days in water. After weaving these together, leaving some holes since that’s what I like, they were dried for quite a few days under some heavy weights. It takes three days to dry the green and six if you use the white parts.


Exploring Sketchbook Ideas

diving into new sketchbook Lessons from classmates

For our Art Education Studio class, each of us concocted sketchbook ideas that are out of the ordinary, centered around drawing.  During each week of class, we are creating one of these problem-based assignments that are open-ended with some boundaries for concepts, techniques and materials.
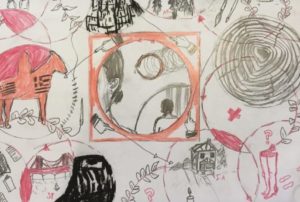
Mapping Identity

Mapping Identity

For our introduction to the class assigned by our teacher, I made an identity map with concepts and events from my life. I used circles to represent the spirals of things I’ve lived through and as a shape of continuity and wholeness in each time period. The only parameter was to draw a 3 inch square in the middle and go from there.
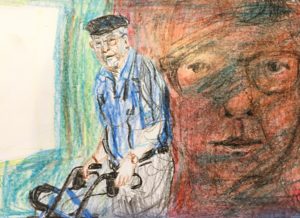
Sketchbook Investigation 1

Sketchbook Investigation 1: Self-portrait

Assignment 1 was a self-portrait made using a reflective surface other than a mirror with 16 crayons.  I used my computer screen which is a memorial to my grandpa, so I can see him everyday.  I layered the crayons and melted them off with an iron with a paper on top.  Then I went back in with a knife and scraped some more off before adding additional crayon.
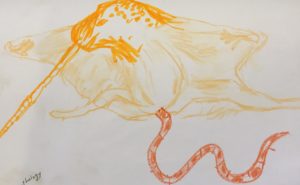
Sketchbook Investigation 2

Sketchbook Investigation 2: My First Chimera

The second one I made was three animals pieced together that was alive now or had been at one point, each with a different drawing medium. This became a narwhal-snake-flying squirrel creature of land, earth and sky.  I used crayon, colored pencil and marker.
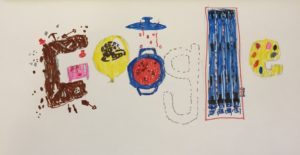
Sketchbook Investigation 3

Sketchbook Investigation 3: Google Doodle

For this assignment, we made Google doodles about ourselves that might appear on the homepage for Google search.  I made this out of marker and it shows an archeological dig, a balloon, cookware and a pool, among other things, showing my interests.
Sketchbook Investigation 4

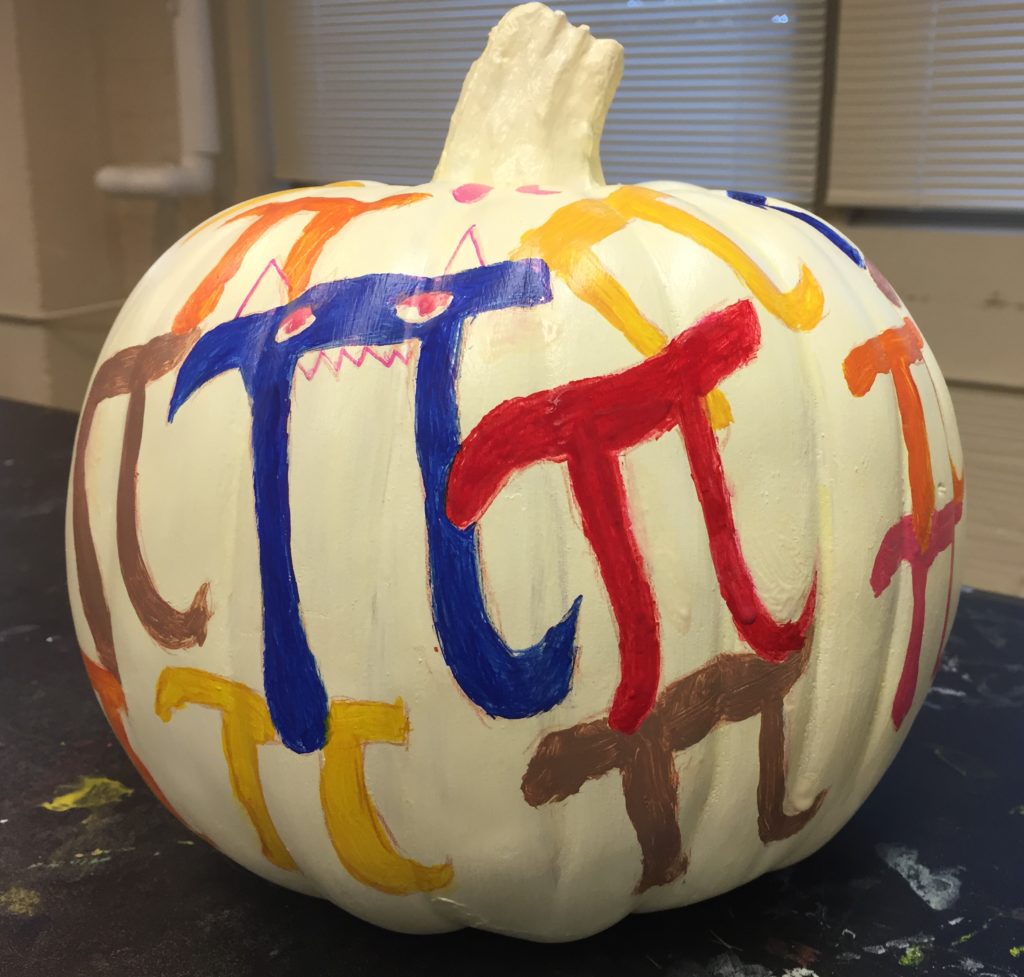
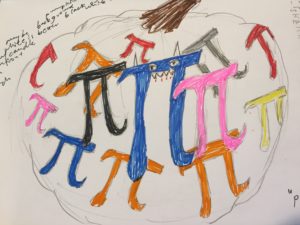
Sketchbook Investigation 4: Pumpkin Pi

For this one, we made an initial design for a pumpkin to be auctioned off at Shelter House, a local organization that helps the homeless.  I used acrylic paint.  Actual pumpkin decoration linked here: https://arted.tessasutton.com/2018/09/20/pumpkin-auction-at-shelter-house.
Sketchbook Investigation 5

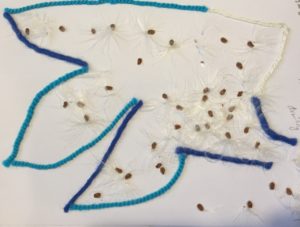
Sketchbook Investigation 5: Dreamy Milkweed

In this assignment, I created a composition without using traditional drawing materials.  Here, I used milkweed I gathered on one of my many walks near my home and some scraps of yarn.  I glued them on.
Sketchbook Investigation 6

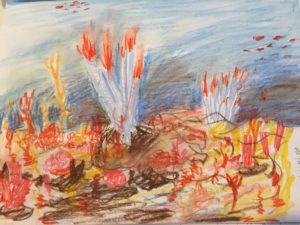
Sketchbook Investigation 6: The Mariana Trench

In #6, our parameters were to draw a place from imagination using lots of rich color and detail.  Using chalk colored pencils, I drew the Mariana Trench which is located off Guam.  I’m interested in the stillness and quiet found there as well as a sense of the unknown.
Sketchbook Investigation 7

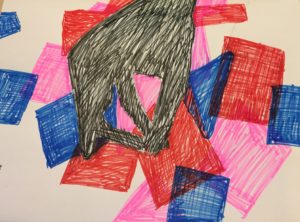
Sketchbook Investigation 7: Shadows and Colors

This one was about drawing a part of our body’s shadow cast by a light and then placing colors  around it that we identified with.  I chose markers and made shapes, thinking of a quilt around my hand.
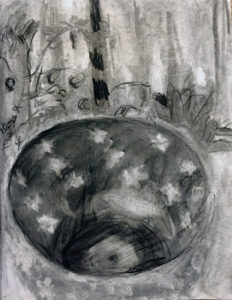
Sketchbook 8: looking into depth

Sketchbook Investigation 8: Looking into Depth

Using vine charcoal rubbed over the paper and then erased with a gummy eraser, I placed an object obscuring the view and then drew the scene. I went back in with a compressed charcoal, which is darker, to make the darks more absorbing. This gives you a background, middle and foreground.

Sketchbook 9: Illuminated Letter

Sketchbook Investigation 9a: Illuminated Letter

For this assignment, we used a stencil to make an illuminated letter of our choice that we made a lino-cut out of, which you can see here.  I have an interest in social studies, so I created a re-make of Ben Franklin’s, Join or Die (1754), in relation to the colonies uniting for the French-Indian Wars.  This was later co-opted by the American Revolution as a banner against England.  I’m using this to say that democrats and republicans should rise up together against the evils of the day.

Sketchbook Investigation 9b: Traveling On

Sketchbook Investigation 9a: Traveling On

This is the sketch for a dry point etching on plexiglass that we made in class. It relates to a personal story of traveling. You can see the finished intaglio here.
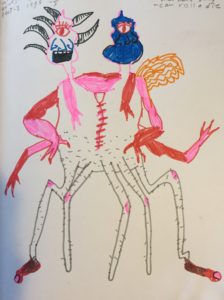
Sketchbook 9b: Making a Monster

Sketchbook 9b: Making a Monster

In this sketch assignment, we needed to have 10 monster parts of different categories such as horns, eyes, noses, feet, etc.) I rolled a die to give me the number for each part.   This is in marker.  I thought this lesson would be great for elementary and junior high and gets your creative monster juices flowing.
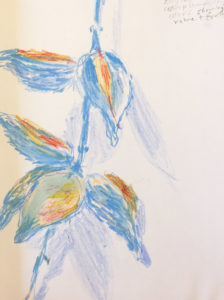
Sketchbook Investigation 10: Drawing from Nature

In this assignment, I drew a dried out milkweed with pods that I found on a walk because we were supposed to draw something from nature using complementary colors showing value and form. I used Stabilo pastel colored pencils, which I like to use because they blend easily.  I used orange and blue with a light periwinkle as a shadow to provide definition and context.
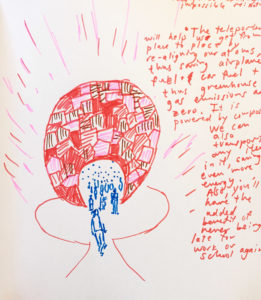
Sketchbook Investigation 11: Imagine the Impossible

For this one, we were supposed to create something impossible that could potentially be possible, relating to some aspect of the natural. I chose to make a teleportation device.  We could not only move ourselves from place to place without greenhouse emissions from transportation, but also move materials easily.  You would never be late to work or school again, and you could live anywhere in the world with no commute.
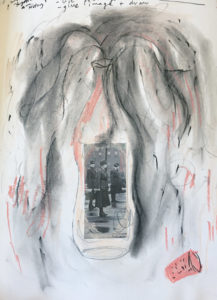
Sketchbook Investigation 12: Chance Encounters

Sketchbook Investigation 12: Chance Encounters

For this lesson, which was my lesson that I submitted, I had my classmates use a fragment of an image taken by chance from the internet based on sentences or phrases in the last work they made and generate a new drawing incorporating some aspect of a poem from a poem generator online. Steps are below. Drawing materials and techniques were their choice. My example is in pastel and pencil.  I used an image of the Spanish Flu from WWI after googling “forgotten American history.”  I made sort of a Pandora’s box in the shape of a bottle.

  1. Look back at your last piece of completed art and describe it with a phrase or sentence that you associate with it, poetic and/or conceptual. Use more than one word.
  2. Go into Google search and type in your phrase and see what comes up under images.
  3. Choose 6 images and roll a die, assigning each a number. If you don’t have a die, you can randomly pick a number.
  4. Print out this image In any size you like and cut into 4 equal parts. Close your eyes and chose a section. Paste or tape this into your sketchbook.
  5. Using a poem generator, add phrases that you used earlier.
  6. Incorporate the image and poem concepts as you see fit.
 

Off the Wall Books

Kids can easily make these simple, yet clever, folded book projects.

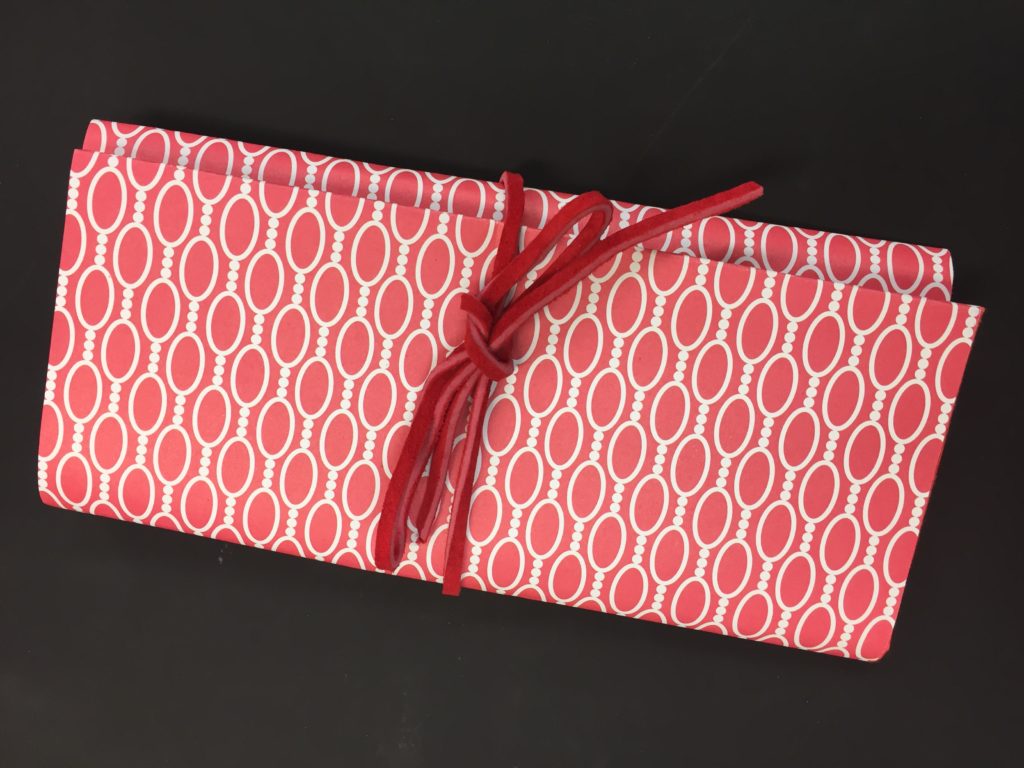
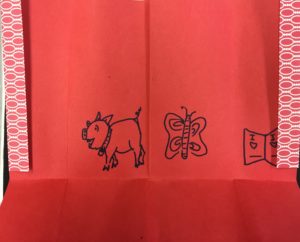
The first is a portfolio that has secret pockets to hide things in.  This one is about 3 x 6 inches folded up and 8.5 x 11 inches open,  but you can make them any size. There is a cover page and inside paper, folded about 9 times, total.

Folded Secret Portfolio

Secret Folded Portfolio

Inside peek

Inside peek with hidden pockets!


Drawings can be hidden inside the flaps.

Drawings can be hidden inside the flaps.

Kids can do drawings inside the pockets to reveal hidden artwork and then fold up the base if they don’t want people to see it!


These would be fun for around 2nd or 3rd grade for smaller artwork, scraps of images to save or a place to doodle.


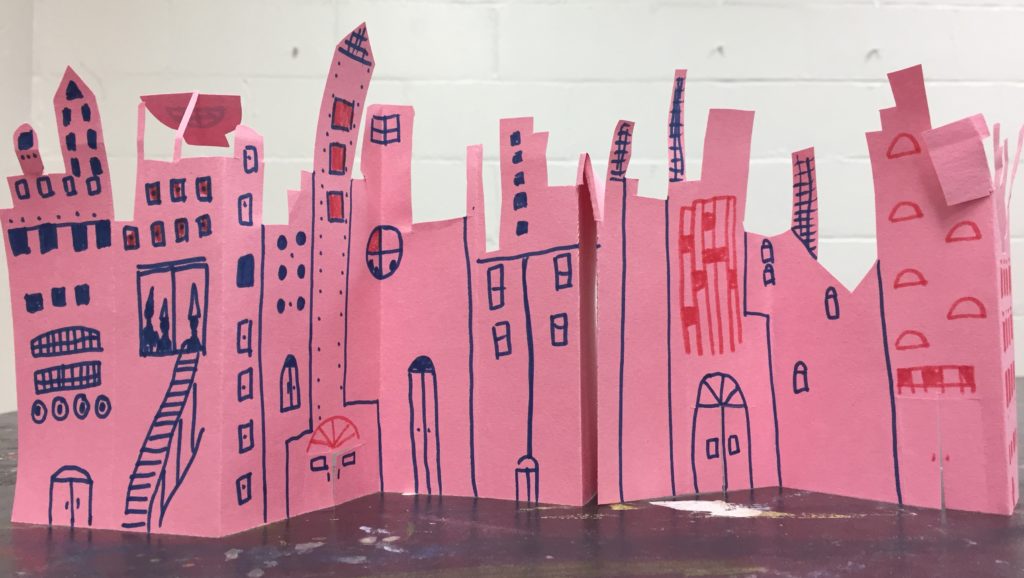
Folded City

Folded City

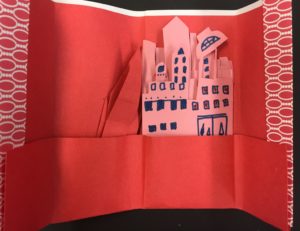
This folded city was made out of one piece of construction paper with the cuts down the middle of the page about 3/4 of the way to the edge then folded back so it has a little support in back to prop it up.  This can be done with all kind of shapes. It could be interesting in tandem with a science activity about symmetry.

Examples came from this book.

Examples came from this book.

Marbling and Paste Paper Fun

Marbling and paste papers are interesting and beautiful ways to experiment with color and pattern on paper for bookmaking, postcards and textures for drawings or paintings. These are processes hundreds of years old that were used in decorating end pages in books.

Cornstarch paste Papers1

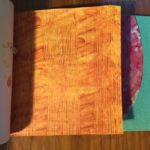
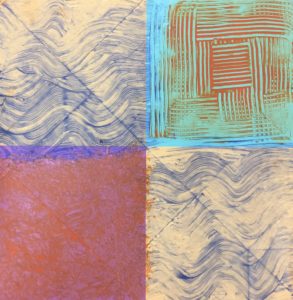
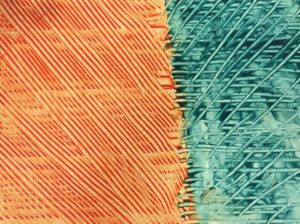
Cornstarch paste paper recipes give a matte finish to your papers.  I found it to be thicker than the rice formula. It spreads easily and you can use tools like combs, sticks and string to make patterns. You use it directly on the paper.

On origami paper

Cornstarch Paste Recipe:

1/4 c. cornstarch
1 + 3/4 c. water

  • mix cornstarch with water on med. heat
  • stir until it resembles thick custard
  • remove from heat and add 1/2 c. water
  • mix once then cool
methyl cellulose Papers (i.e. elmer’s paste powder)
Use it like painting directly on paper

Use it like painting–directly on paper

Gives a nice texture for drawing on

Gives a nice texture for drawing

Rice Paste Recipe:

(NOTE: Methyl cellulose mixes (store-bought) or cornstarch recipes are less reactive to people with gluten allergies, as this recipe has wheat.)

4 T rice flour
3 T wheat flour
3 c. water
1/2 tsp. glycerin
1 T dish washing detergent

  • over medium heat, thicken paste
  • cool in fridge (it’s good when it resembles pudding)
  • mix 2 T acrylic paint with 1 c. paste
Prang Ambrite pastel Papers

Prang Ambrite pastels shaved into water make a nice diffusion. I used dish detergent on a brush to disperse the color. It made it separate, but gives a splattered effect and a hole.

SuminagaShi Papers
  

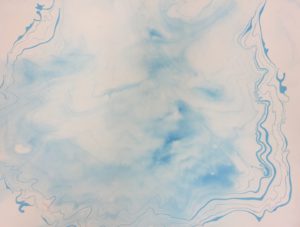
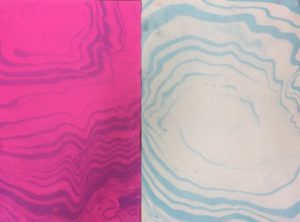
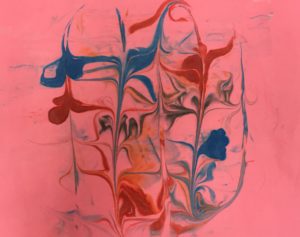
Suminagashi is a Japanese form of paper marbling and is a very old process originating in China over 2000 years and refined by Japanese Shinto priests in the 12th century. Inks or paint are floated on the surface of the water, alternating one brush loaded with pigment and the other with dish soap as a dispersant.2 Paper is then laid over the surface of the water, gently pressing down and then pulling it up and off.

Turkish Marbling Papers

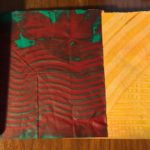
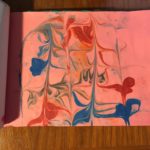
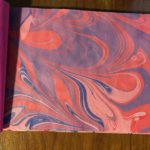
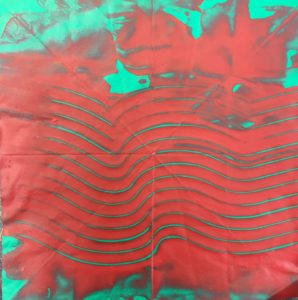
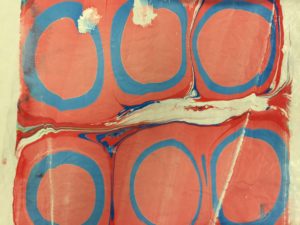
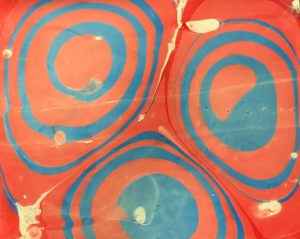
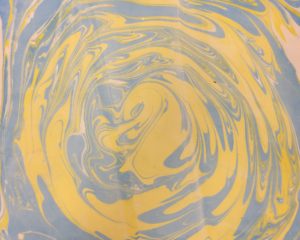
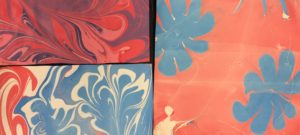
Turkish marbling is made by placing colors like Jacquard paints on the surface of a water and carrageenan mixture, then pulling a print of it with a paper sized with a mordant like alum. The colors are the brightest of the processes we experimented with.  This process started in the 15th century in Persia and Turkey.3

On fabric

On fabric


Turkish

Shaving Cream Papers


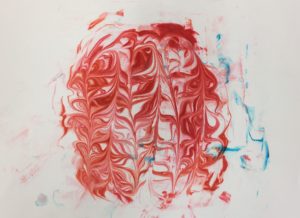
These were made by applying shaving cream on a plate, putting food coloring on top and then pulling a print. You can mix them around with various tools like skewering sticks and combs.

1 Wooding, C. (2018). Paste paper recipe. My paper arts. Retrieved from http://www.mypaperarts.com/tag/paste-paper-recipe.

2 History of Suminagashi and Marbling. (2018). Suminagashi: The ancient art of Japanese marbling. Retrieved from http://suminagashi.com/overview.

3 History of Suminagashi and Marbling. (2018). Suminagashi: The ancient art of Japanese marbling. Retrieved from http://suminagashi.com/overview.