a great way to collect your paper experiments
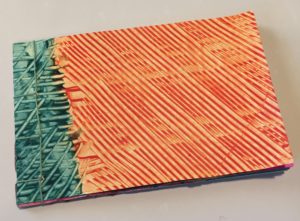
Sampler Book
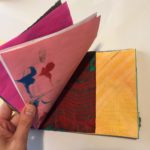
Sampler book pages
Our sampler books contain many of the handmade paper explorations we’ve done in class, linked here, such as Turkish, Suminagashi, shaving cream, Prang Ambrite pastel, rice or cornstarch paste paper, and handmade recycled paper. I listed corn husk and papyrus paper below as well, which were all really fun. I included many different types of drawing papers tucked away inside.
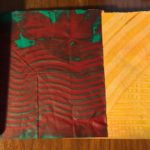
Rice paste paper
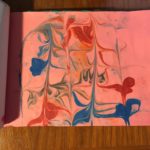
Shaving cream paper
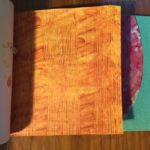
Cornstarch papers
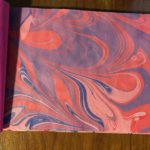
Turkish marbling
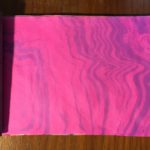
Suminigashi paper
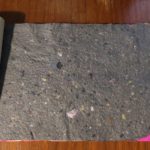
Handmade recycled paper
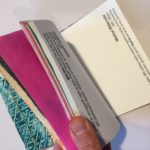
Other drawing papers
Inside we placed other papers suitable for watercolor and drawing, such as marker, pastel, illustration and various drawing papers. These will come in handy when I’m thinking about new drawing projects for the kids and trying to decide which paper for them to use.
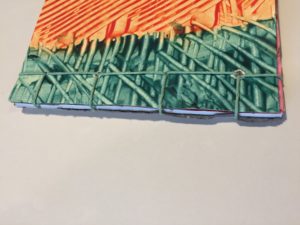
Japanese Stab Binding
This is a form of binding which is suitable for small books that are not too thick, maybe an inch or less. It’s a simple and elegant way to bind pages together.
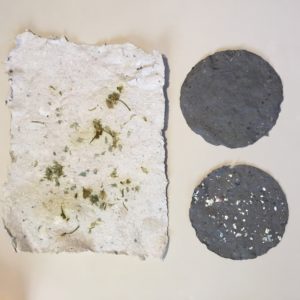
Handmade recycled paper
Here is some recycled paper made from soaking bits of paper overnight and then chopping up in a blender until they are fairly smooth. You need to add a fair amount of water when doing this. If you use a rag paper as an additive (in small quantities), you should use 100% cotton since it’s easier to work with. After using a shaped screen and sponging the water out, it was fun to play with various colors and silver leaf bits as well. You can add botanicals like flowers or seeds if you wish, during the screening process.
Other paper experiments: Corn Husk & Papyrus
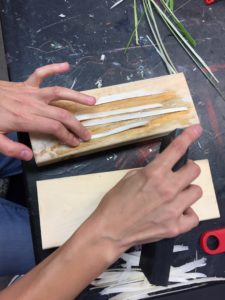
Flattening the papryrus core
Assembling the corn husks
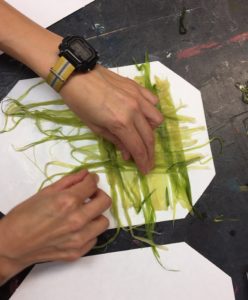
We made corn husk paper out of husks which are soaked in soda ash and cooked for 2 hours, which breaks up the fibers. For this process you need to use gloves, a dust mask and good ventilation as well as only a stainless steel or enamel pot. It can be quite toxic. Our teacher did this part for us. Then, you lay out the husks on a couch sheet to absorb the water, close together like weaving. Afterwards, you press the papers together on a blotter paper or flower type press.
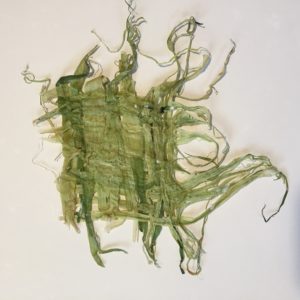
Corn husk paper
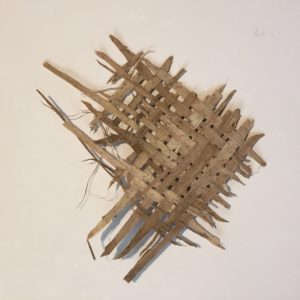
Papyrus
For the papyrus paper, we began by using veggie peelers and removing the green parts of the papyrus entirely until the white core remained. Then, we peeled the white parts into smaller units and crushed under a rolling pin and blocks of wood to increase the surface area. We soaked these a couple of days in water. After weaving these together, leaving some holes since that’s what I like, they were dried for quite a few days under some heavy weights. It takes three days to dry the green and six if you use the white parts.