Batik: Toothpaste/lotion mixture & Crayon resist
Traditional batik was brought to Africa in the 19th century by English and Dutch traders traveling from Indonesia before stopping in Africa. Many African tribes, including the Yoruba from Nigeria, Wolof and Soninke from Senegal, and Bamana from Mali, started to experiment with their own designs using mud, cassava starch and rice paste instead of wax to resist the
dye.1
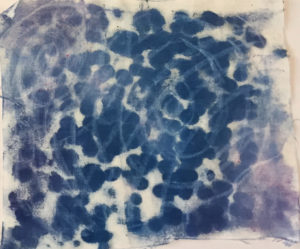
For our own batik examples, we used a novel combination of white toothpaste mixed with lotion in about equal quantities. You can use any type of lotion: petroleum or plant based. One option is to make a drawing on a piece of paper underneath and then trace with the mixture in a squeeze bottle over the top on the fabric, or you can freely apply, which is what I did.
Crayon Resist
Batik Toothpaste & Lotion
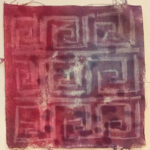
Crayon Resist
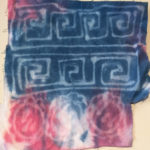
I made a Greek keys design since I’m half Greek. After you let the mixture dry for about two days, you can apply the fabric dye (or acrylic paint thinned with water) in any manner you choose. I noticed that the dye bled through the fabric to the newspaper underneath, so I used that under a new sheet of fabric and dotted the dye back up into the design with my finger.
You can rinse out the dye after it has dried on any of the samples if you wish, but you have to rinse the toothpaste mixture one in cold water to remove the paste. Then hang to dry. With the crayon resist, you can iron it under a newspaper to remove the wax after dyeing.
Wet & Dry Felting
Wet felting is created through a process using wool roving from sheep. I layered the felt by pulling bits apart and placing in a composition. Each layer goes on top at a 90 degree angle and you can use about 4-5 layers, that way you don’t have holes in your felted object.
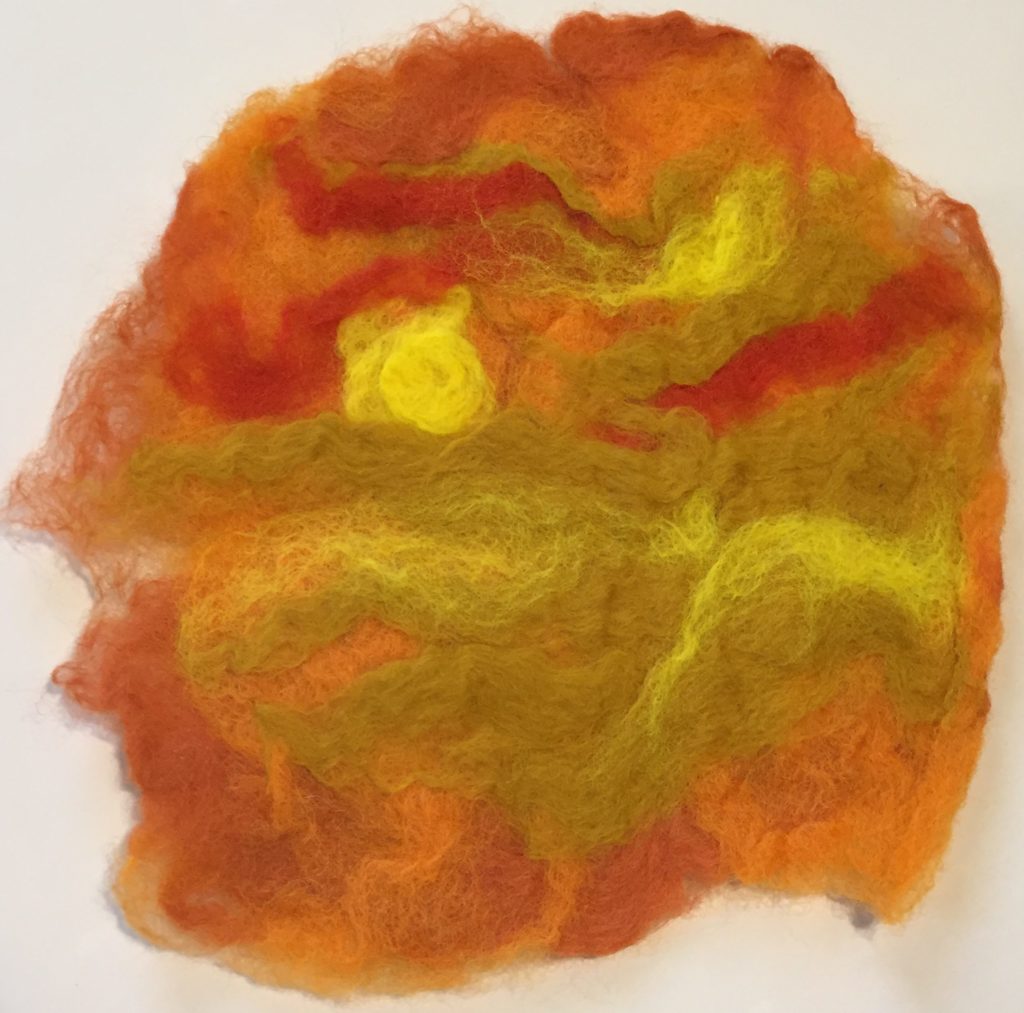
Felted Landscape (wet): A Sunset or Jupiter?
Then you place in a plastic bag and spray with a mixture of natural soap like olive oil and warm water because it has low suds. After sealing, we used a bamboo sushi roller under the plastic bag containing the wet felt, rolled up and agitating the bag for around 20 minutes, turning the bag every so often and re-rolling. Allow to dry at least overnight. This is a safe process for kids.
Dry needle felting is made by stabbing layers of roving with a felting needle around size 38. The puncturing process holds the layers together as a type of felt that tends to be a bit hairier than wet felting, in more ways than one.
This isn’t a very safe technique for kids younger than middle school for sure, and probably mainly for those who are advanced, because you end up nicking your fingers if you’re not paying attention.
The letter P in the image below was made in a tiny cookie cutter and was probably the hardest to wrangle.
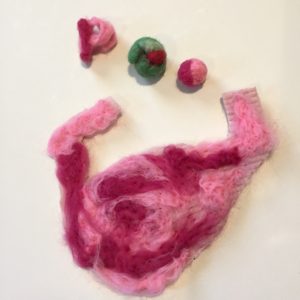
Felted Stomach with the Letter P (also dry), a Felted Gumball (dry) & a Pimento (wet)
finger knitting
Finger knitting can be done on one or multiple fingers, in this case, we used four. I used to do this as a kid and remember making a purse. You start by making a slipknot for the one finger method, taking the yarn back around your finger and bringing the lower one up over the higher one and off and repeating. The four finger method is easier to watch than explain in words.
For our class, we’re donating the scarves we made to Mark Twain Elementary here in Iowa City as part of community arts.

One finger knitting
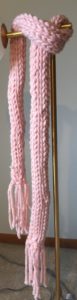
Four finger knitted scarf
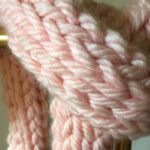
Detail
1Kitenge Store. (2018). Retrieved from https://kitengestore.com/traditional-batik-making-ghana-west-africa.