Lino-cuts (block printing), intaglio & Gel printing

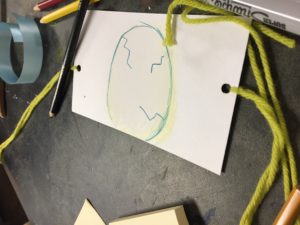
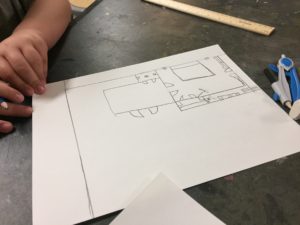
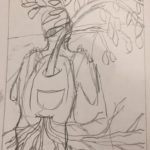
Sketch of illuminated letter on paper
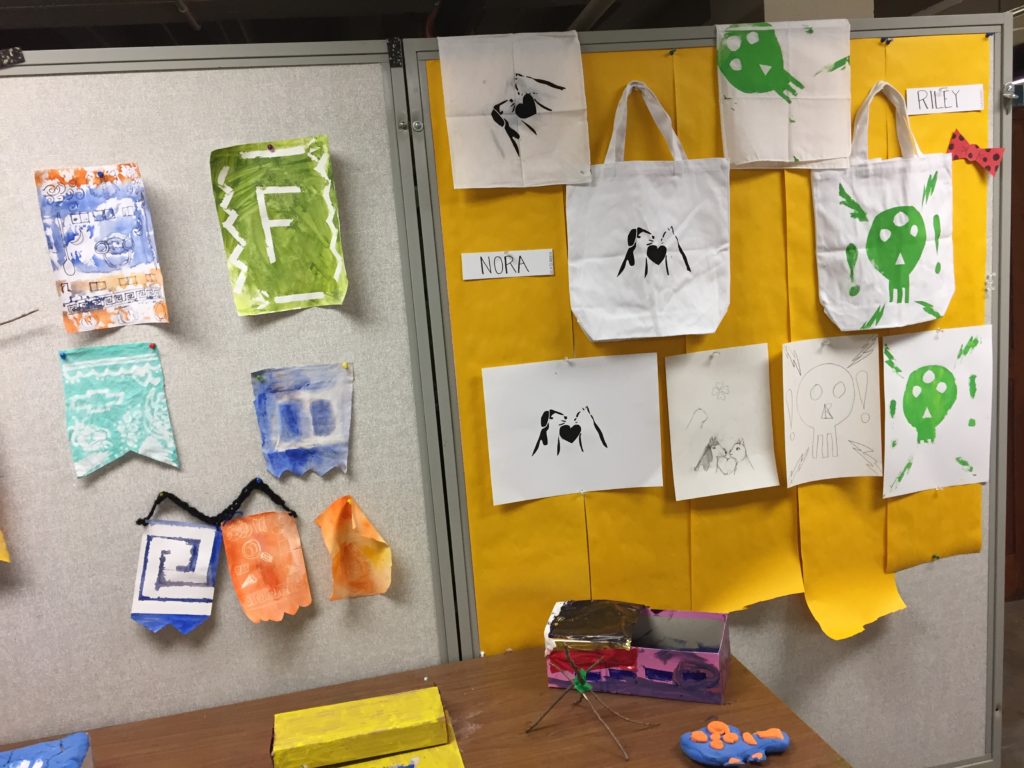
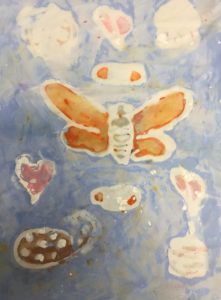
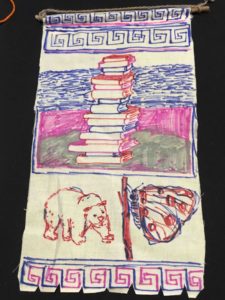
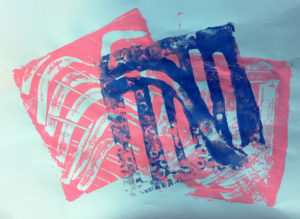
For this assignment, we used a stencil to make an illuminated letter of our choice for a lino-cut or block print, which is a type of relief printing. I have an interest in social studies, so I created a re-make of Ben Franklin’s 1754, Join or Die, in relation to the colonies uniting for the French-Indian Wars. This was later co-opted by the American Revolution as a banner against England. I’m using this to say that democrats and republicans should rise up together against the evils of the day.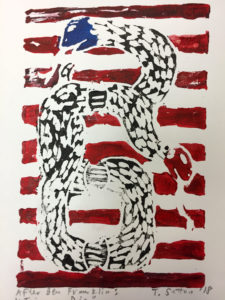
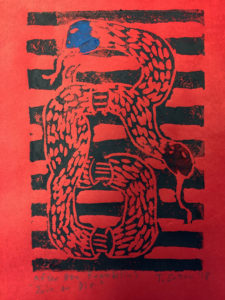
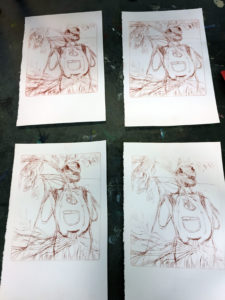
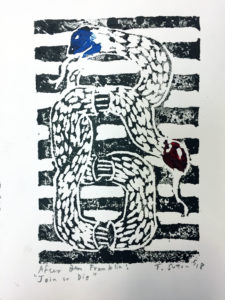 After applying the ink with a roller and a brush for the red and blue parts, I tried this block print on mulberry, pastel, and lightweight drawing paper. I thought the mulberry paper worked the best. It absorbed the water-based block printing ink in a balanced way.
intaglio
Sketchbook Investigation 9a: Traveling On
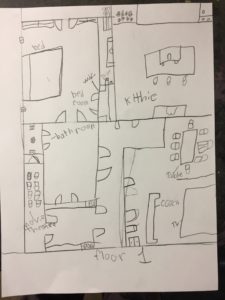
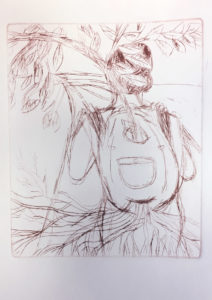
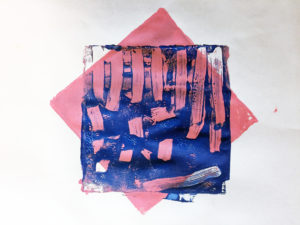
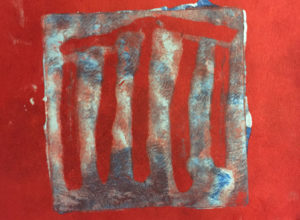
This is the sketch for a dry-point etching (intaglio) on plexiglass that we made in class. It relates to a personal story of traveling.
When you print it, it is backwards from your plate, which may or may not matter for your design. You can also photocopy your sketch backwards and then trace it onto your plate that way if you want it the same way you drew it. We printed these on a small printing press with Akua inks which are water-based for easy clean up.
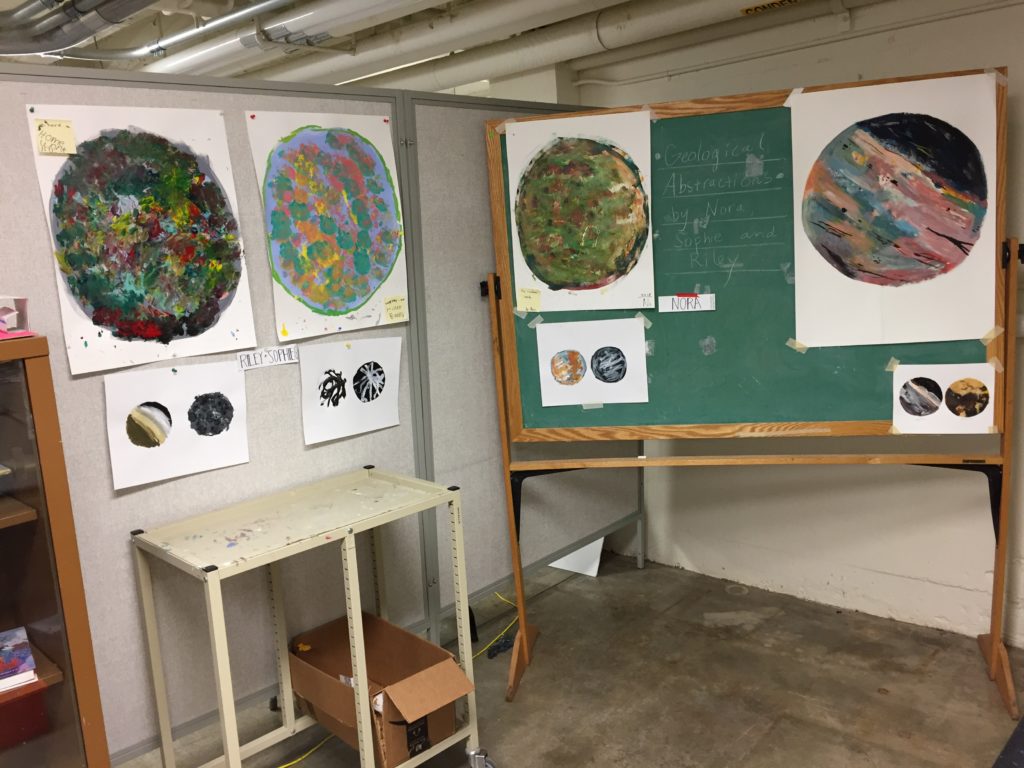
Finished intaglio

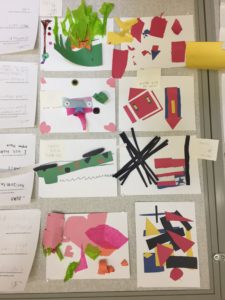
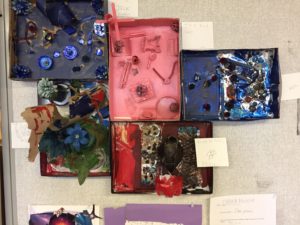
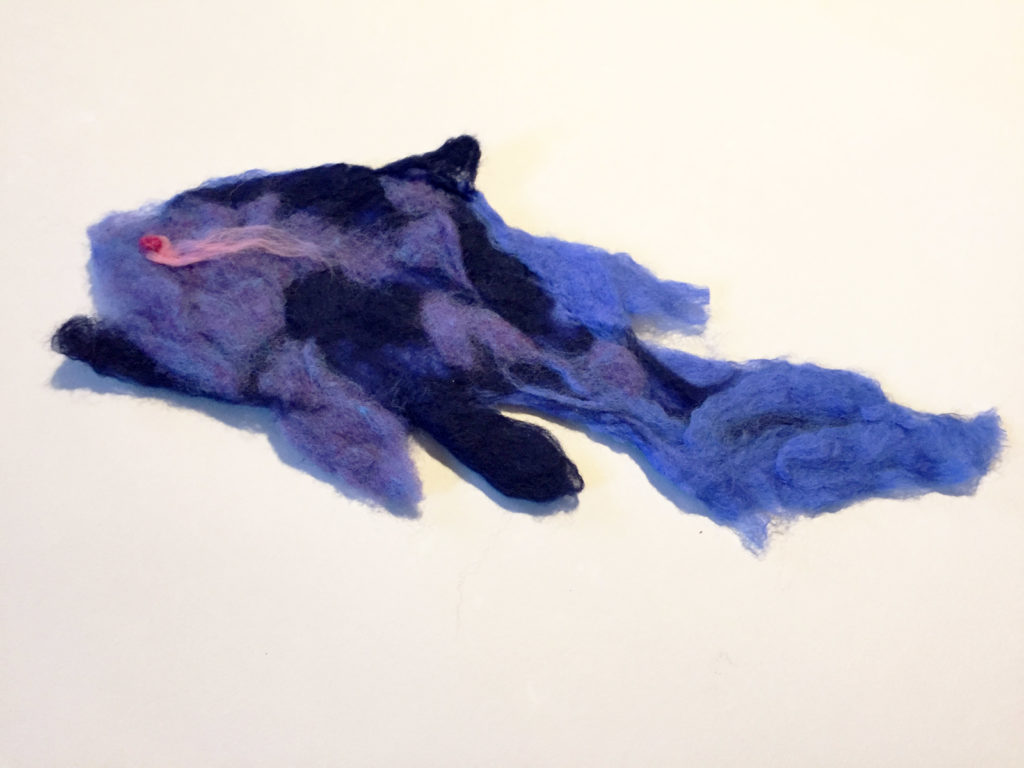
Gel Printing
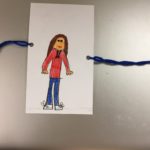
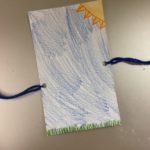
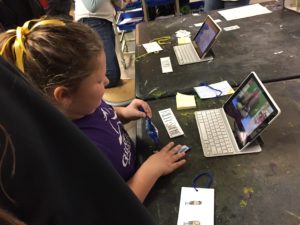
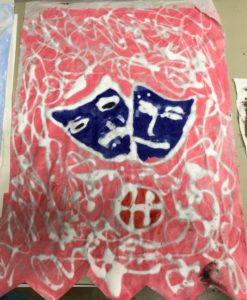
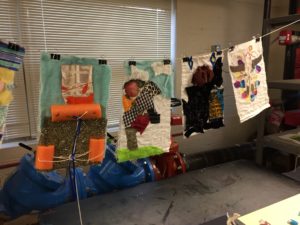
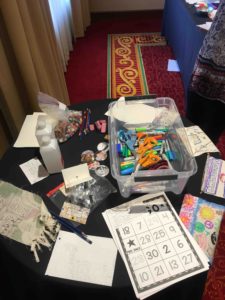
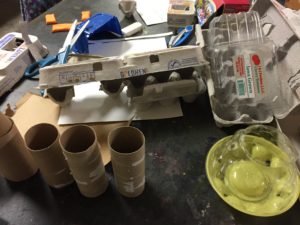
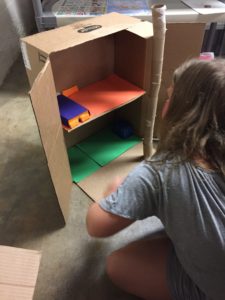
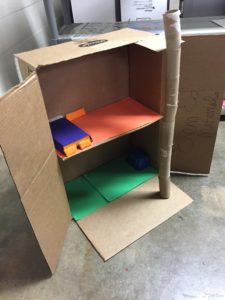
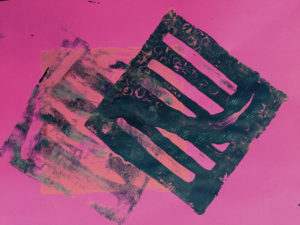
Below, you will see some images of gel printing in process and finished pieces. Gel printing is made on a plastic, pliable material. You peel off the cover and it’s sticky in nature. Then you can put acrylic paint on it that is fluid, such as Chromacryl, applying with a soft printmaking brayer.
After applying the paint, you can use different tools such as bubble wrap, utensils or rubber combs to give texture or pretty much anything you want to play with. Layering the multiple plates seems like a good way to teach kids about using color and space. This is a very tactile, hands-on process that is great for abstract art.
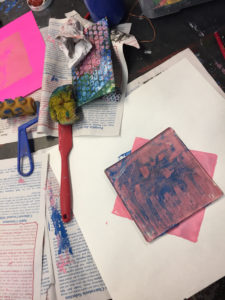
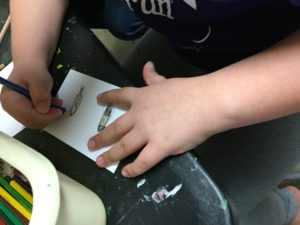
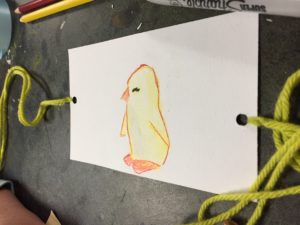
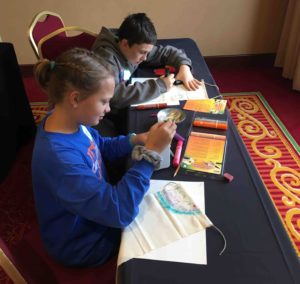
Gel printing in process: using different tools like a sponge, rubber blade, bubble wrap and other textures

![]()