Explorations in the 4th Dimension: Animations With Colleen
This week was Colleen’s turn to teach and she had a great lesson called, “Explorations in the 4th Dimension” which meant she did animations on iPads with the kids. We started off the opening ceremony with the weekly prompt of “what did you do that was creative this week?” and the students chatted with us about how they auditioned for a play, finished a book and did some baking, thus establishing a routine for each time, which helps set expectations and gets them involved right away.
Demonstration
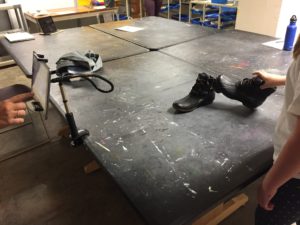
After showing them some animation videos such as by PES, she demonstrated the simple features of the Stop Motion app. and the kids dove right in making an animation with their shoes, adding characters as an extra option. I felt like this activity was successful because the students seemed very engaged in making their movies and two kids collaborated together, which was very energizing for them. I think in a larger classroom (we have three kids in our Saturday art section), it would be good if kids could have the choice to collaborate or not, organically, which is what Colleen did that worked well.
I think if I were doing this lesson, I would have them come up with characters and a story beforehand so they knew how it fits together with a story arc. Also, I would have different 3-D materials that they can use to decorate their shoes into characters. These kids used duct tape on their shoes, which seemed to work well, and they could have used fabric and sticks, yarn or cardboard as well.
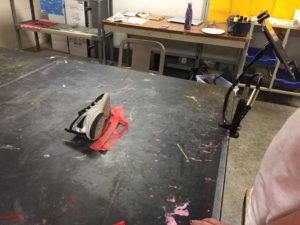
A student’s work in progress
Pacing seems to be something to keep considering because one student finished before the others so she made a rabbit character and did an animation of that hopping along. Making extra characters or a second film is a great way to keep kids engaged.
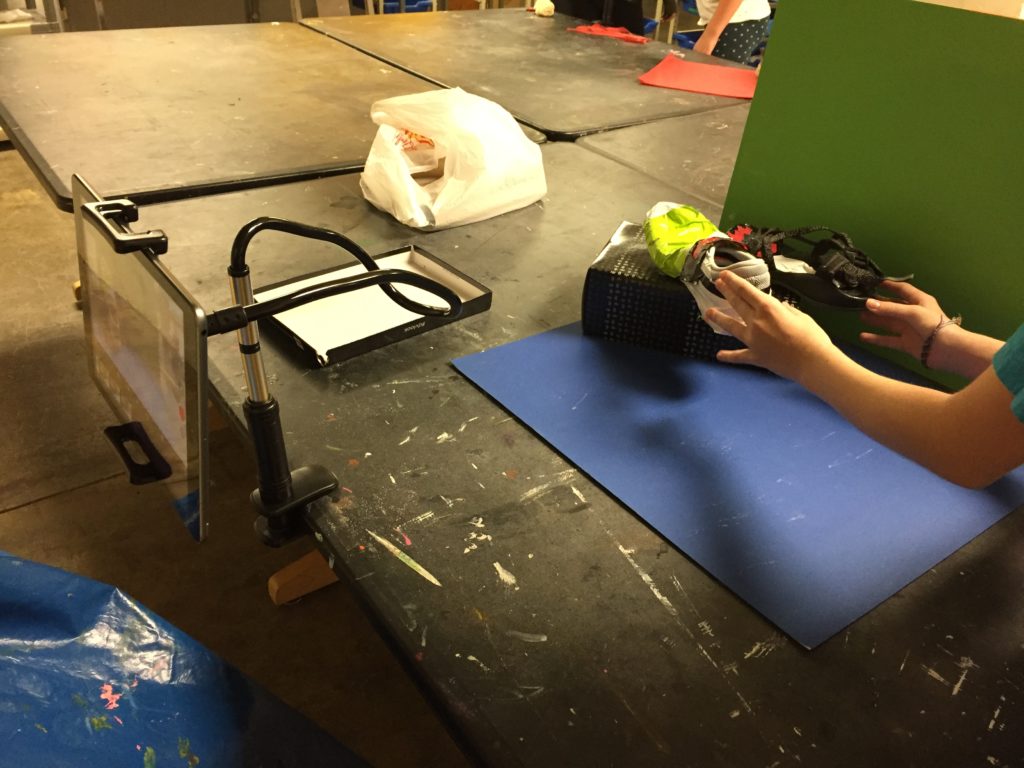
Two kids collaborate
Play was an important element of this activity, and was especially apparent between the two girls working together. They bounced ideas off of each other like atoms. It was interesting to see make-believe at work between kids, which is an essential part of using imagination at for 4th & 5th graders. Overall, the kids were very excited to be making their open ended films and improvising as they went along, so that is why I think this was a successful lesson.


 They also get so excited that they don’t want to stop. Next time we can remind them to clean up 10 then 5 minutes before they need to so they’re expecting it.
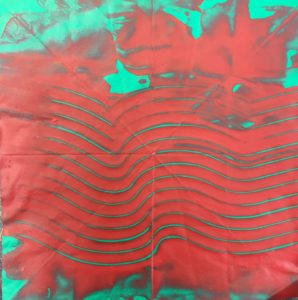
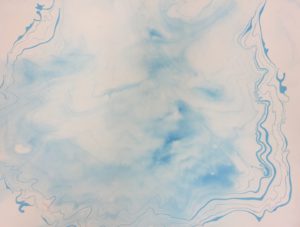
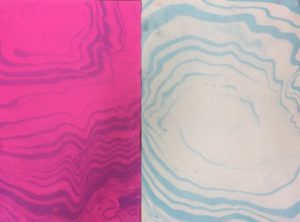
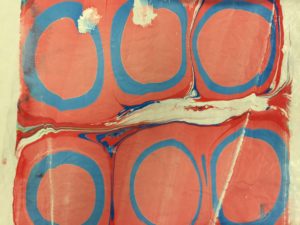
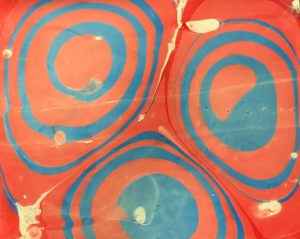
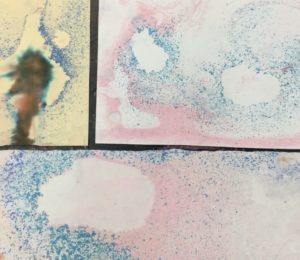 Prang Ambrite pastels shaved into water make a nice diffusion. I used dish detergent on a brush to disperse the color. It made it separate, but gives a splattered effect and a hole.